Sign In
My Account
Home
About
Music
Shows
Podcast
Lessons
News
Press Kit
Fwé Culture Store
Contact
Sign In
My Account
Home
About
Music
Shows
Podcast
Lessons
News
Press Kit
Fwé Culture Store
Contact
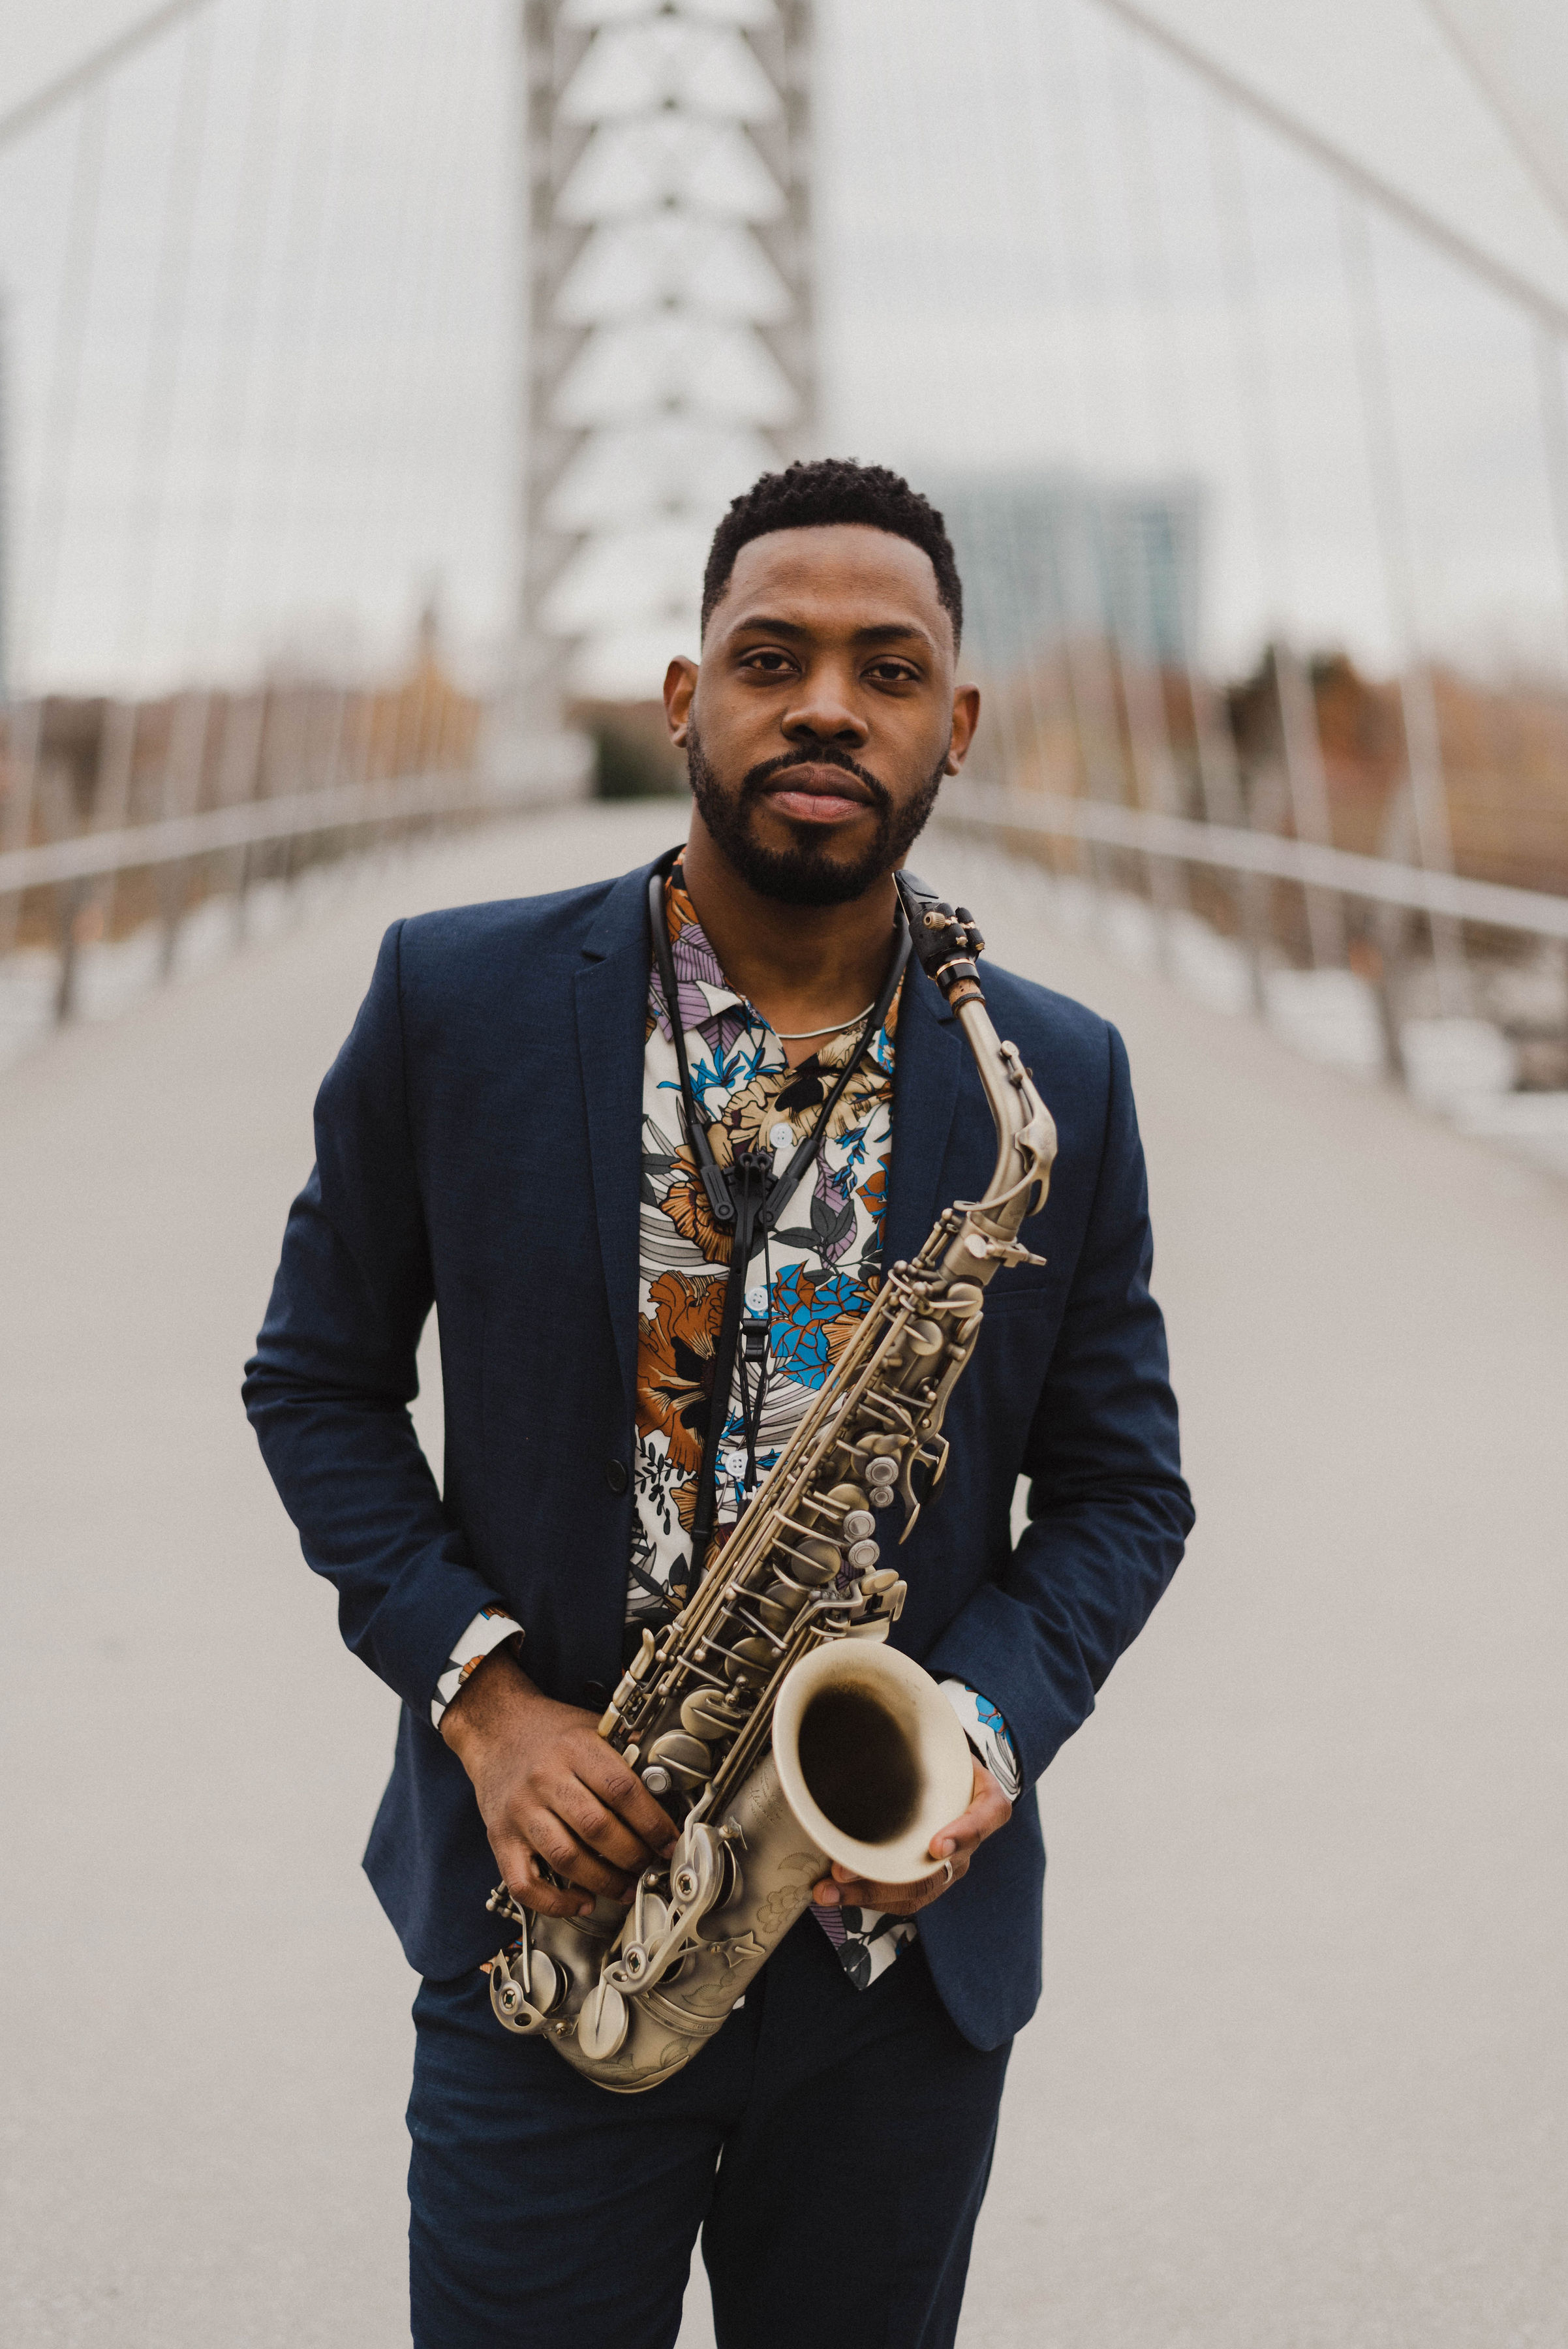
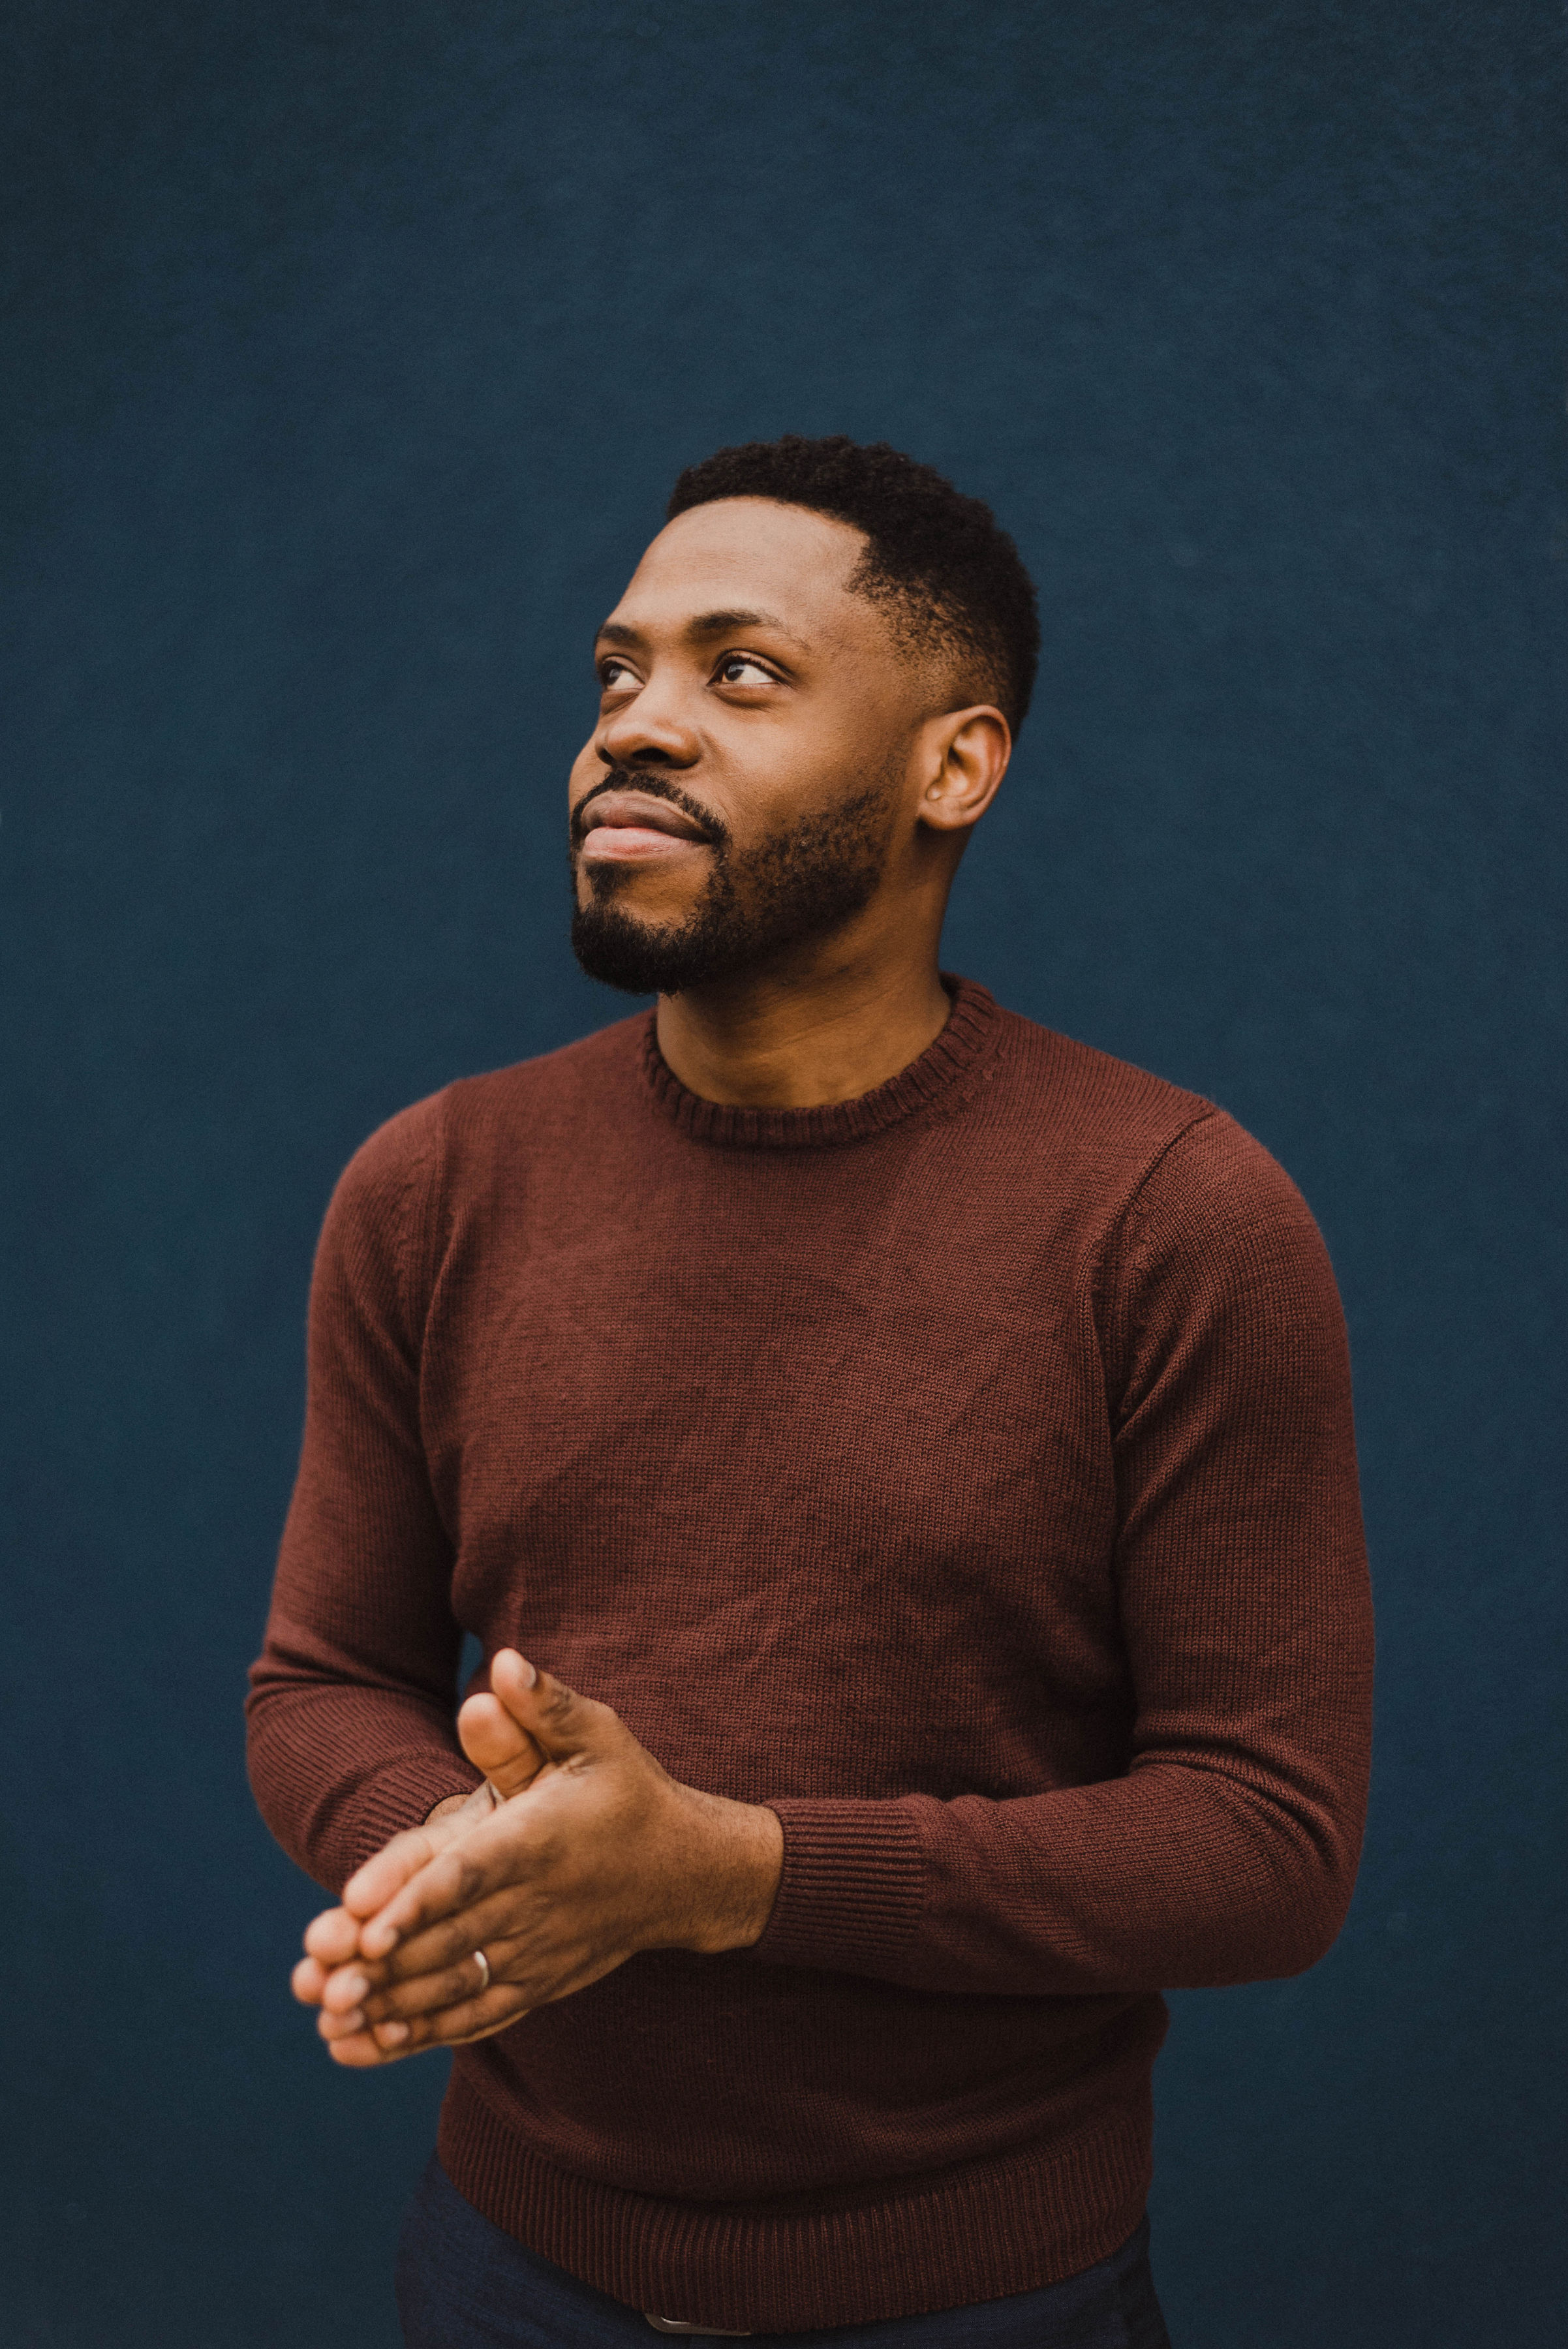
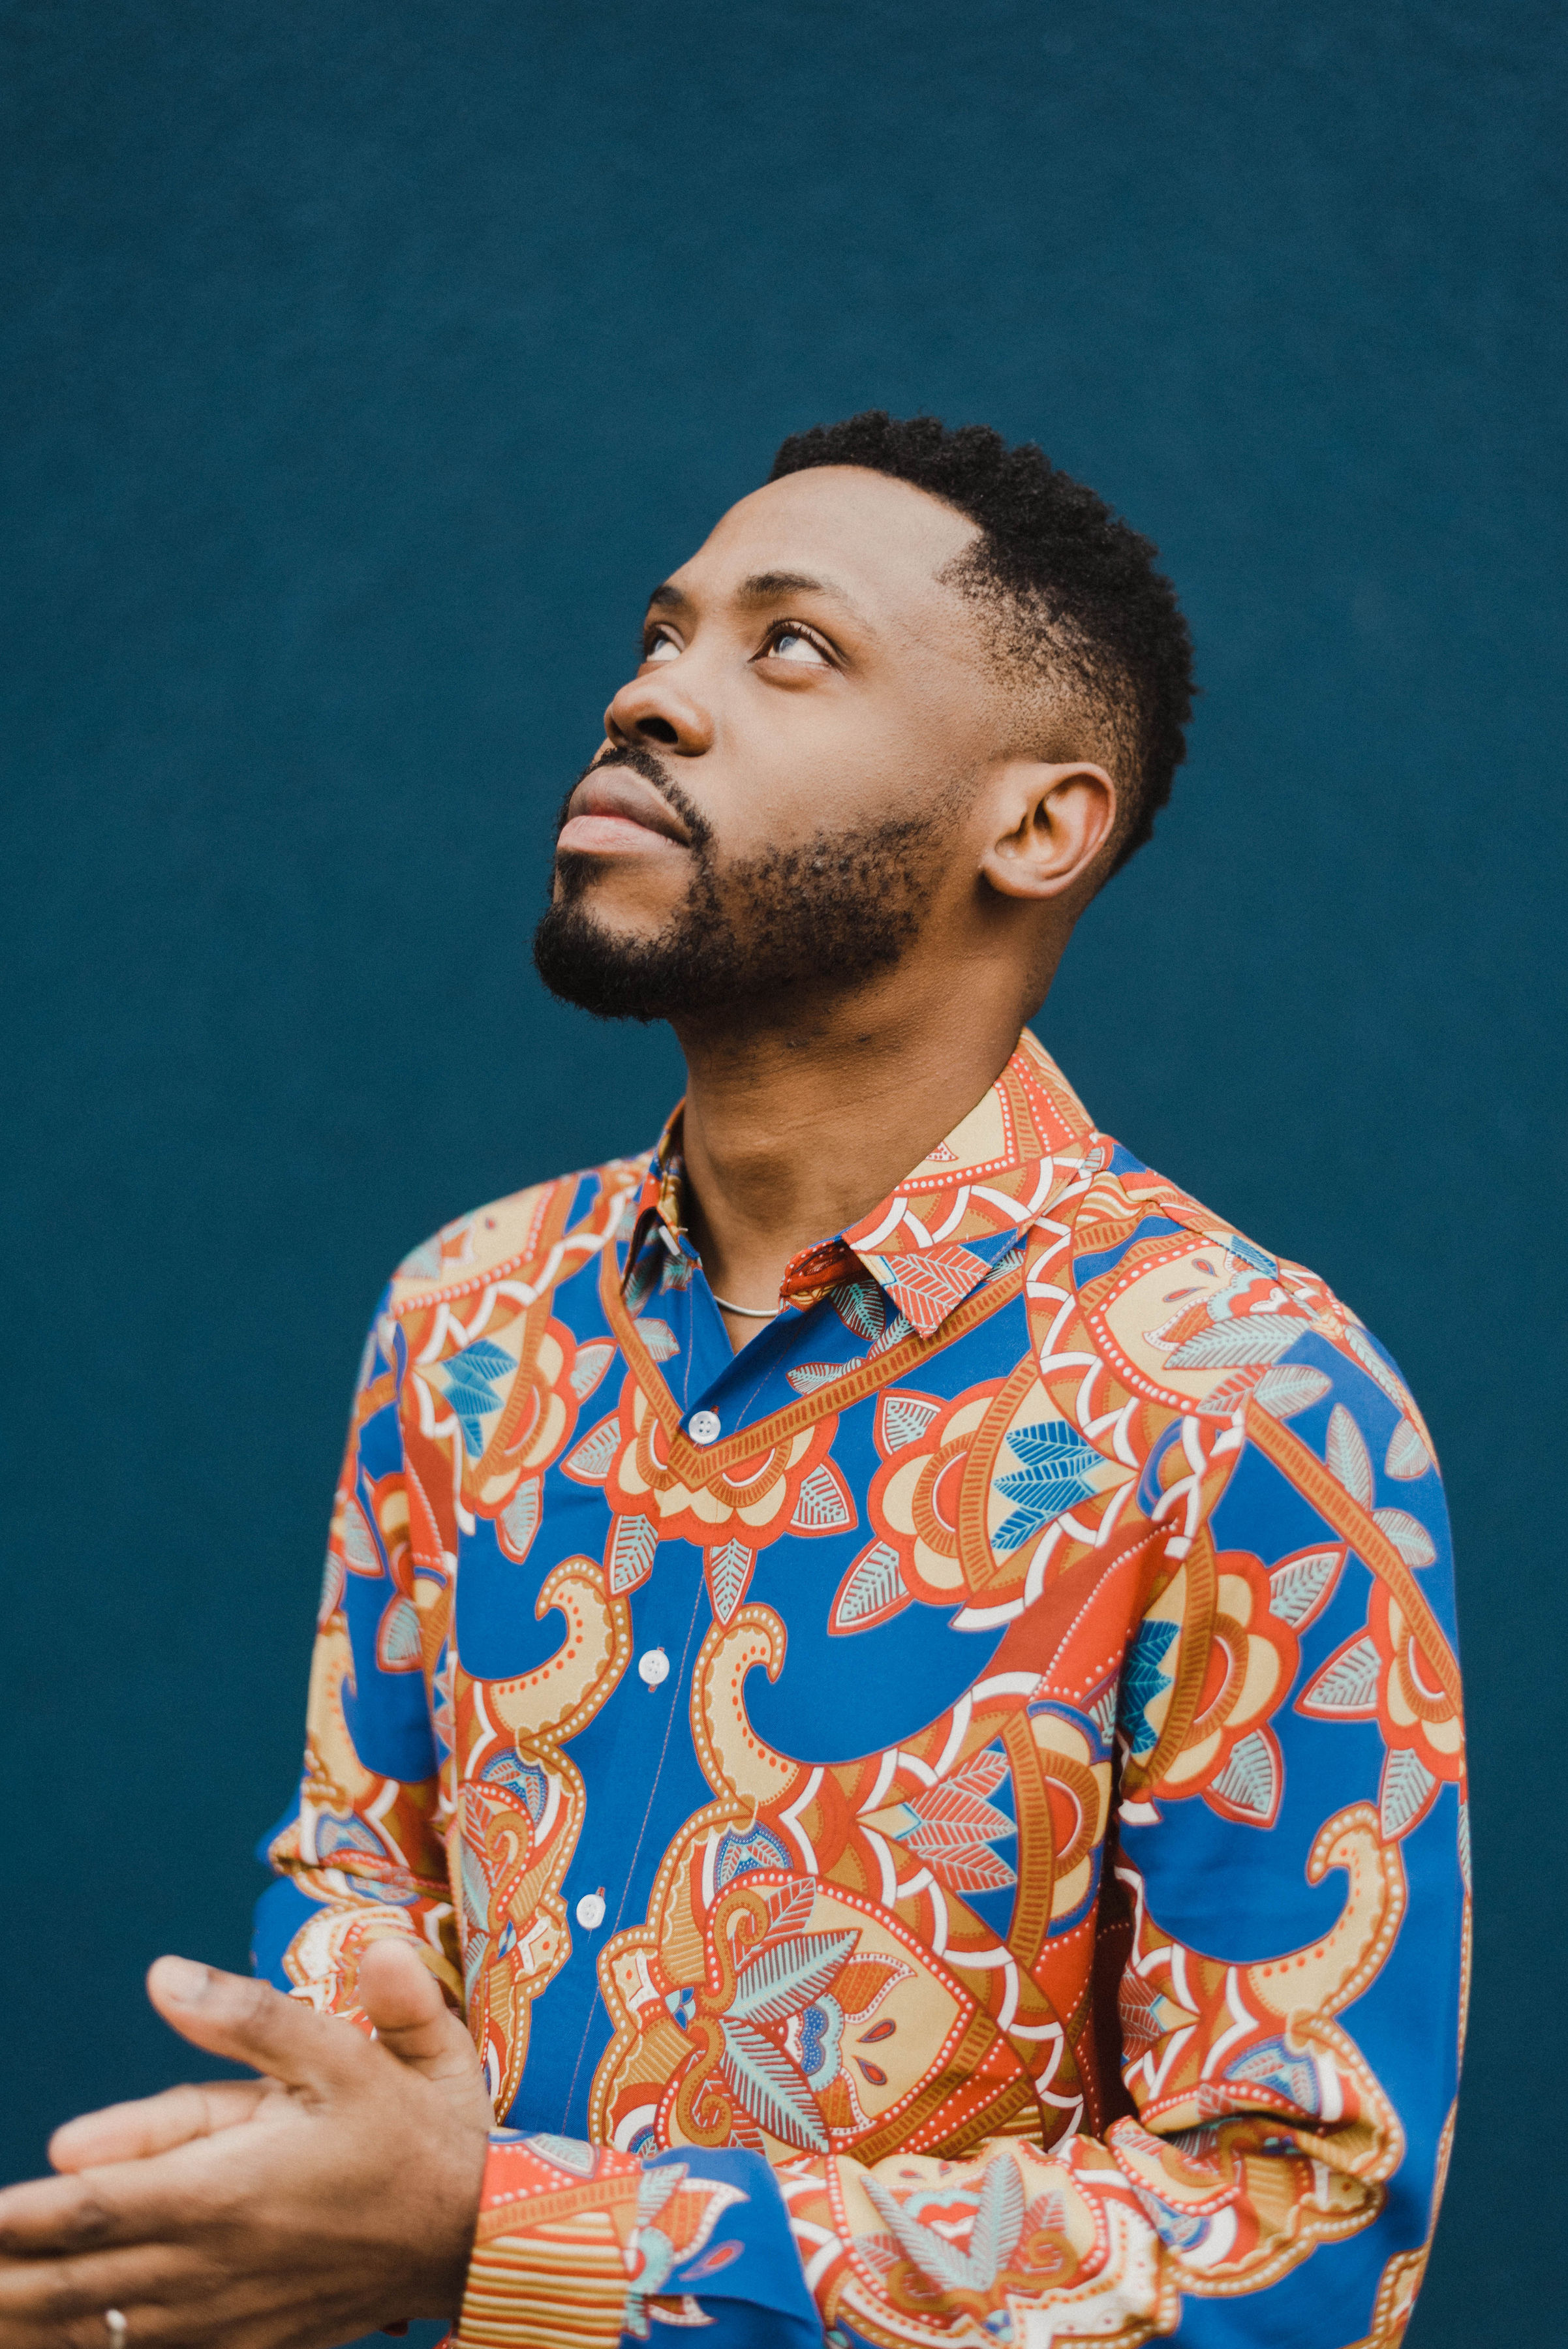
saxophonist, composer, educator
PRESS KIT DOWNLOADS
BIOS (FULL & SHORT)
CURRICULUM VITAE
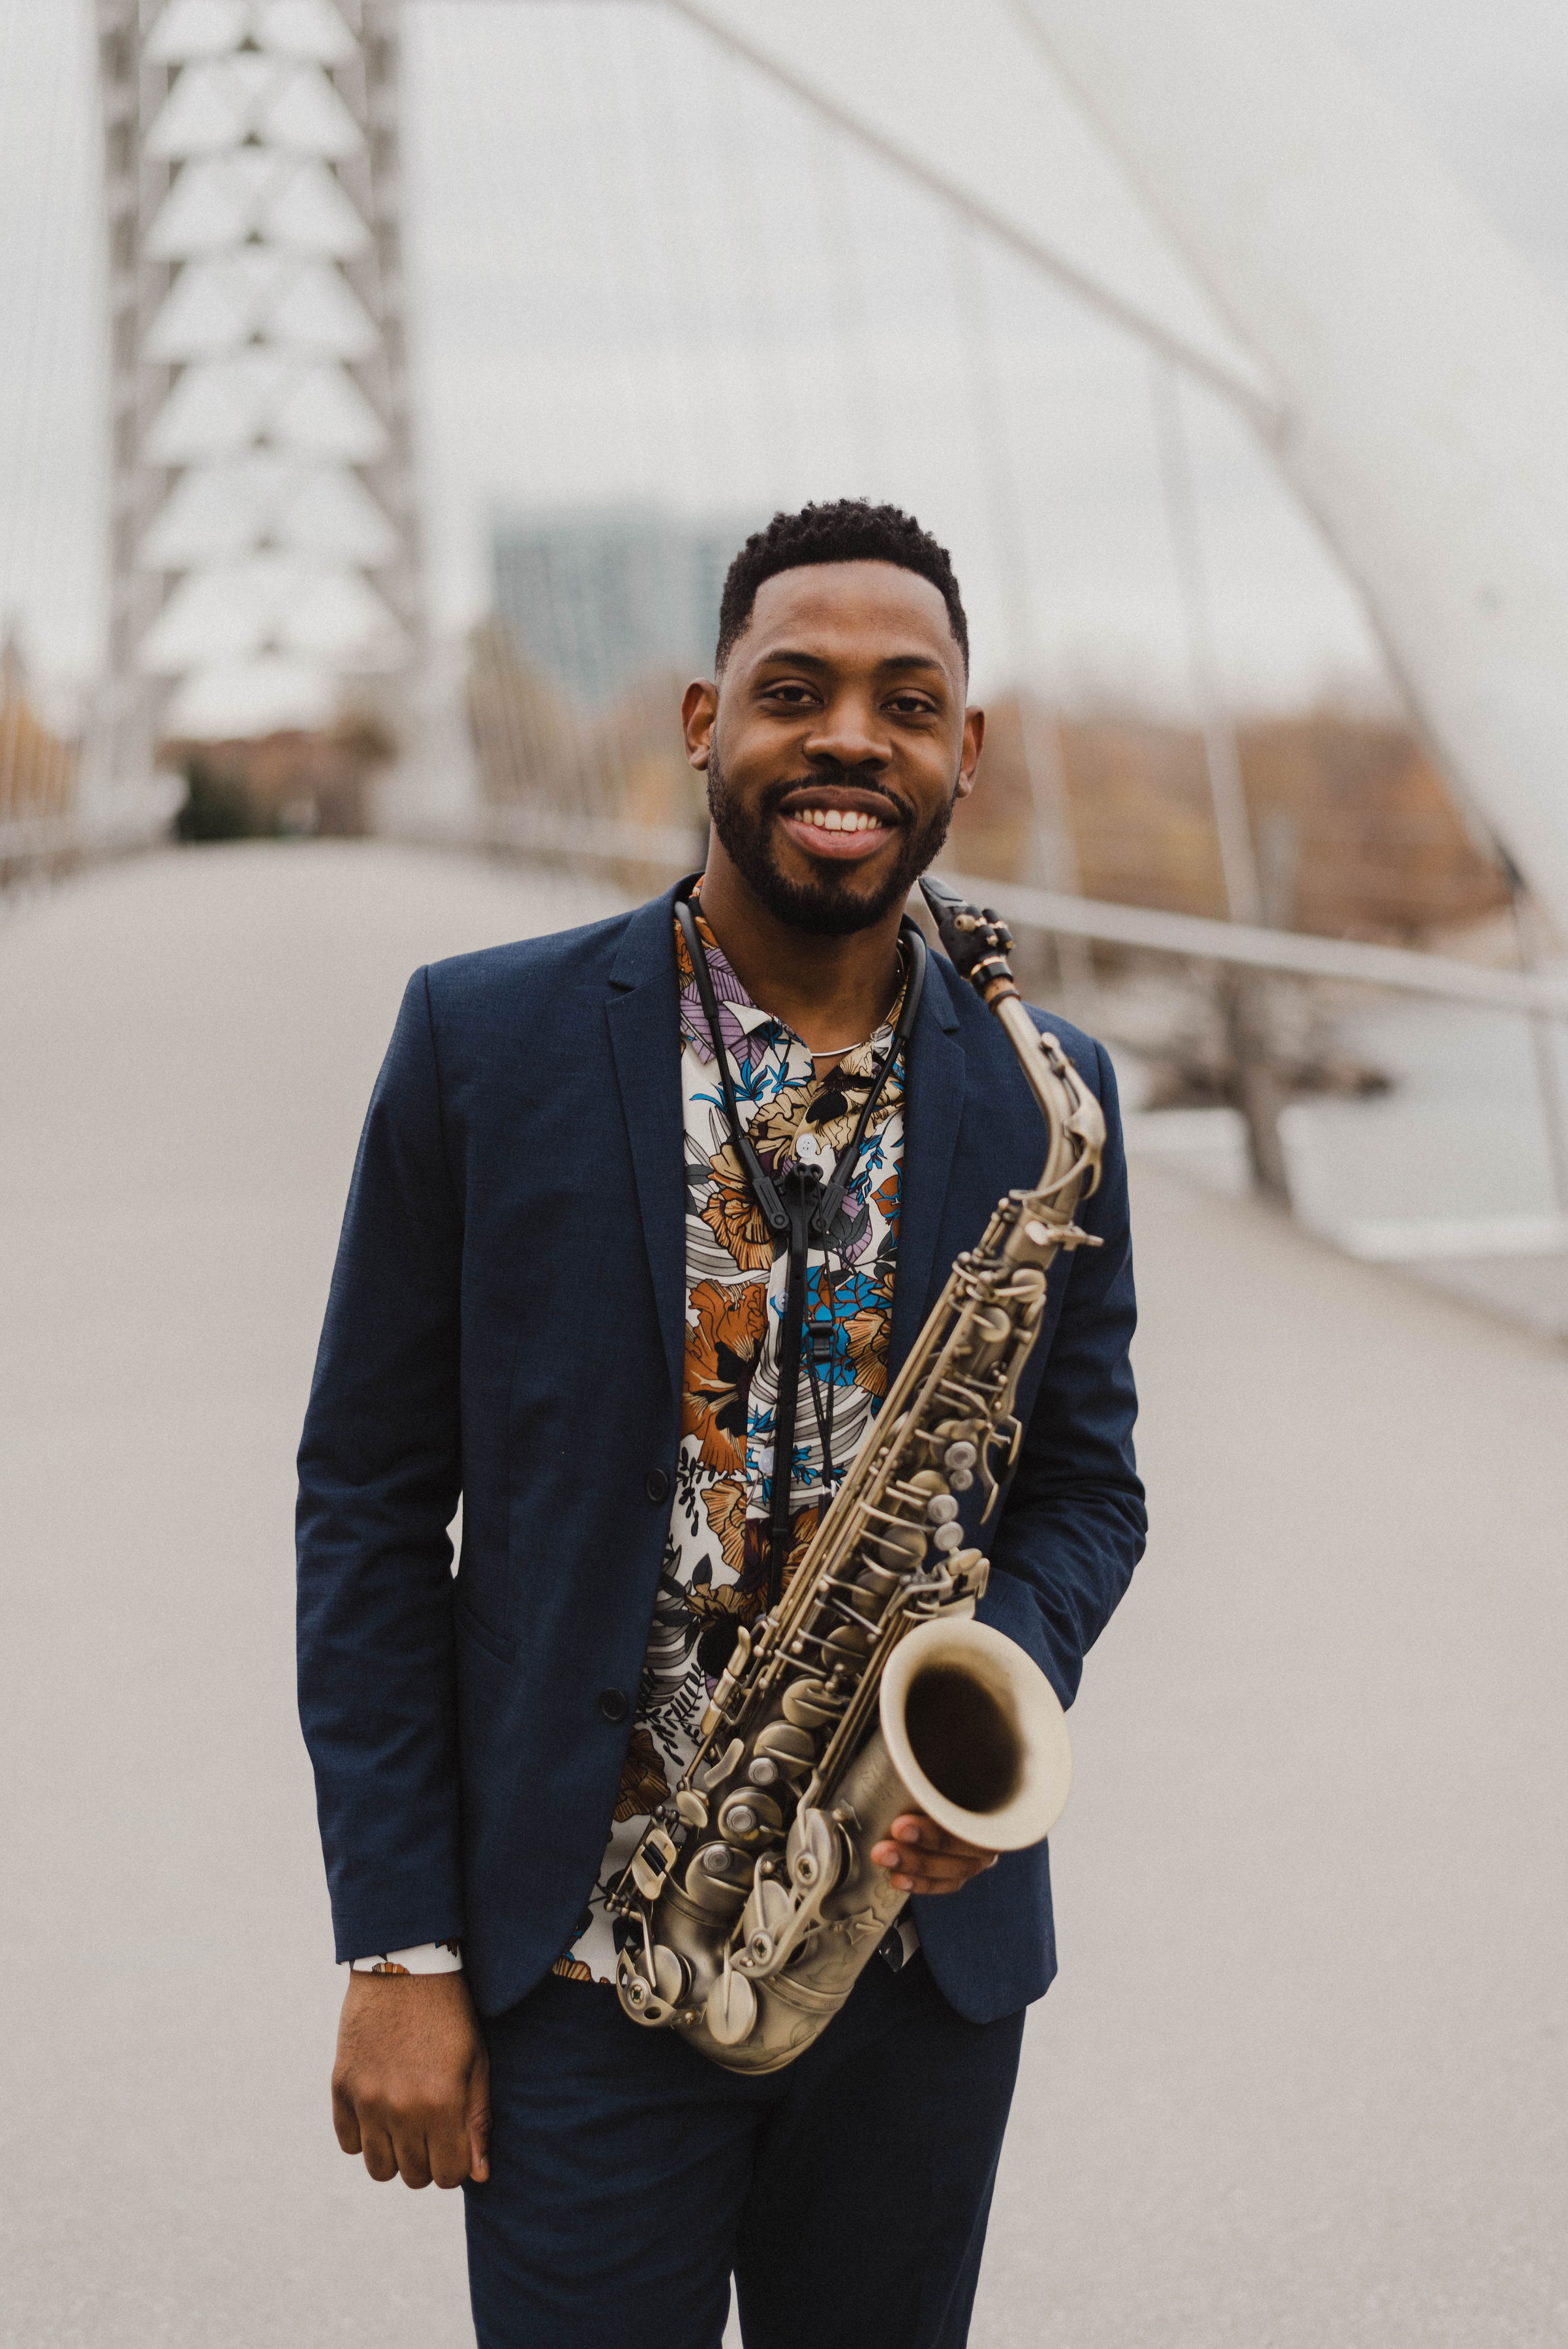
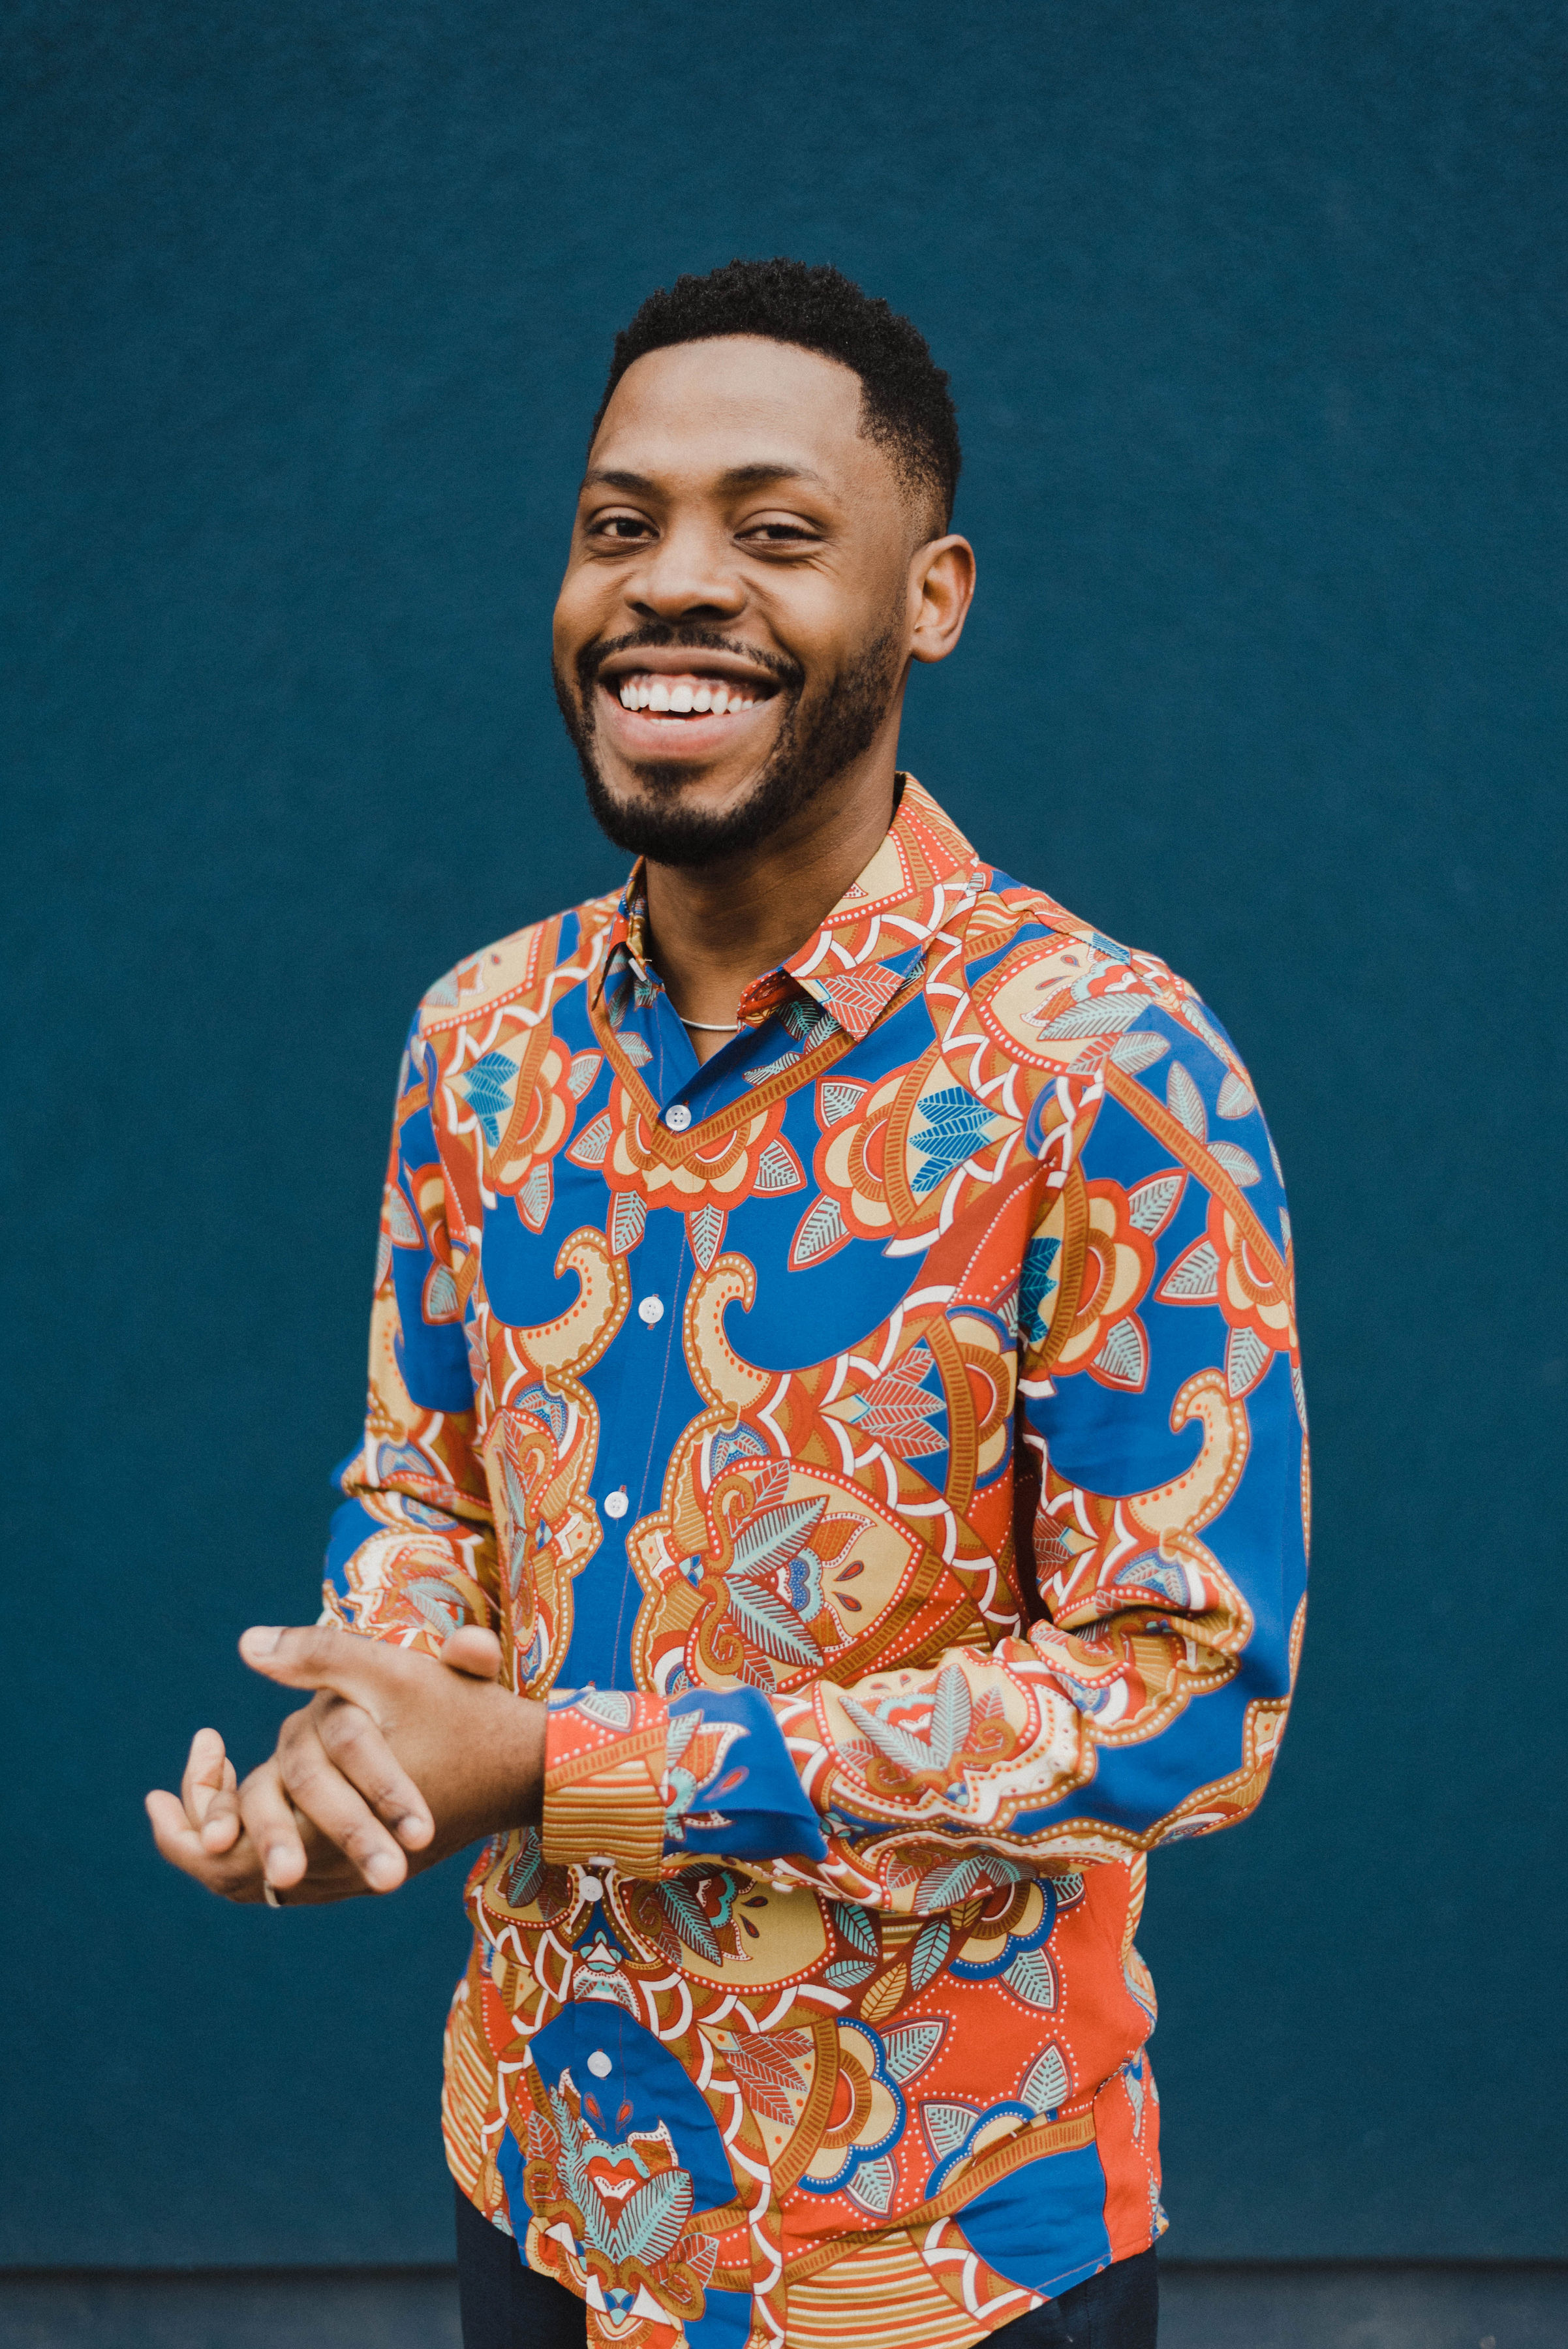
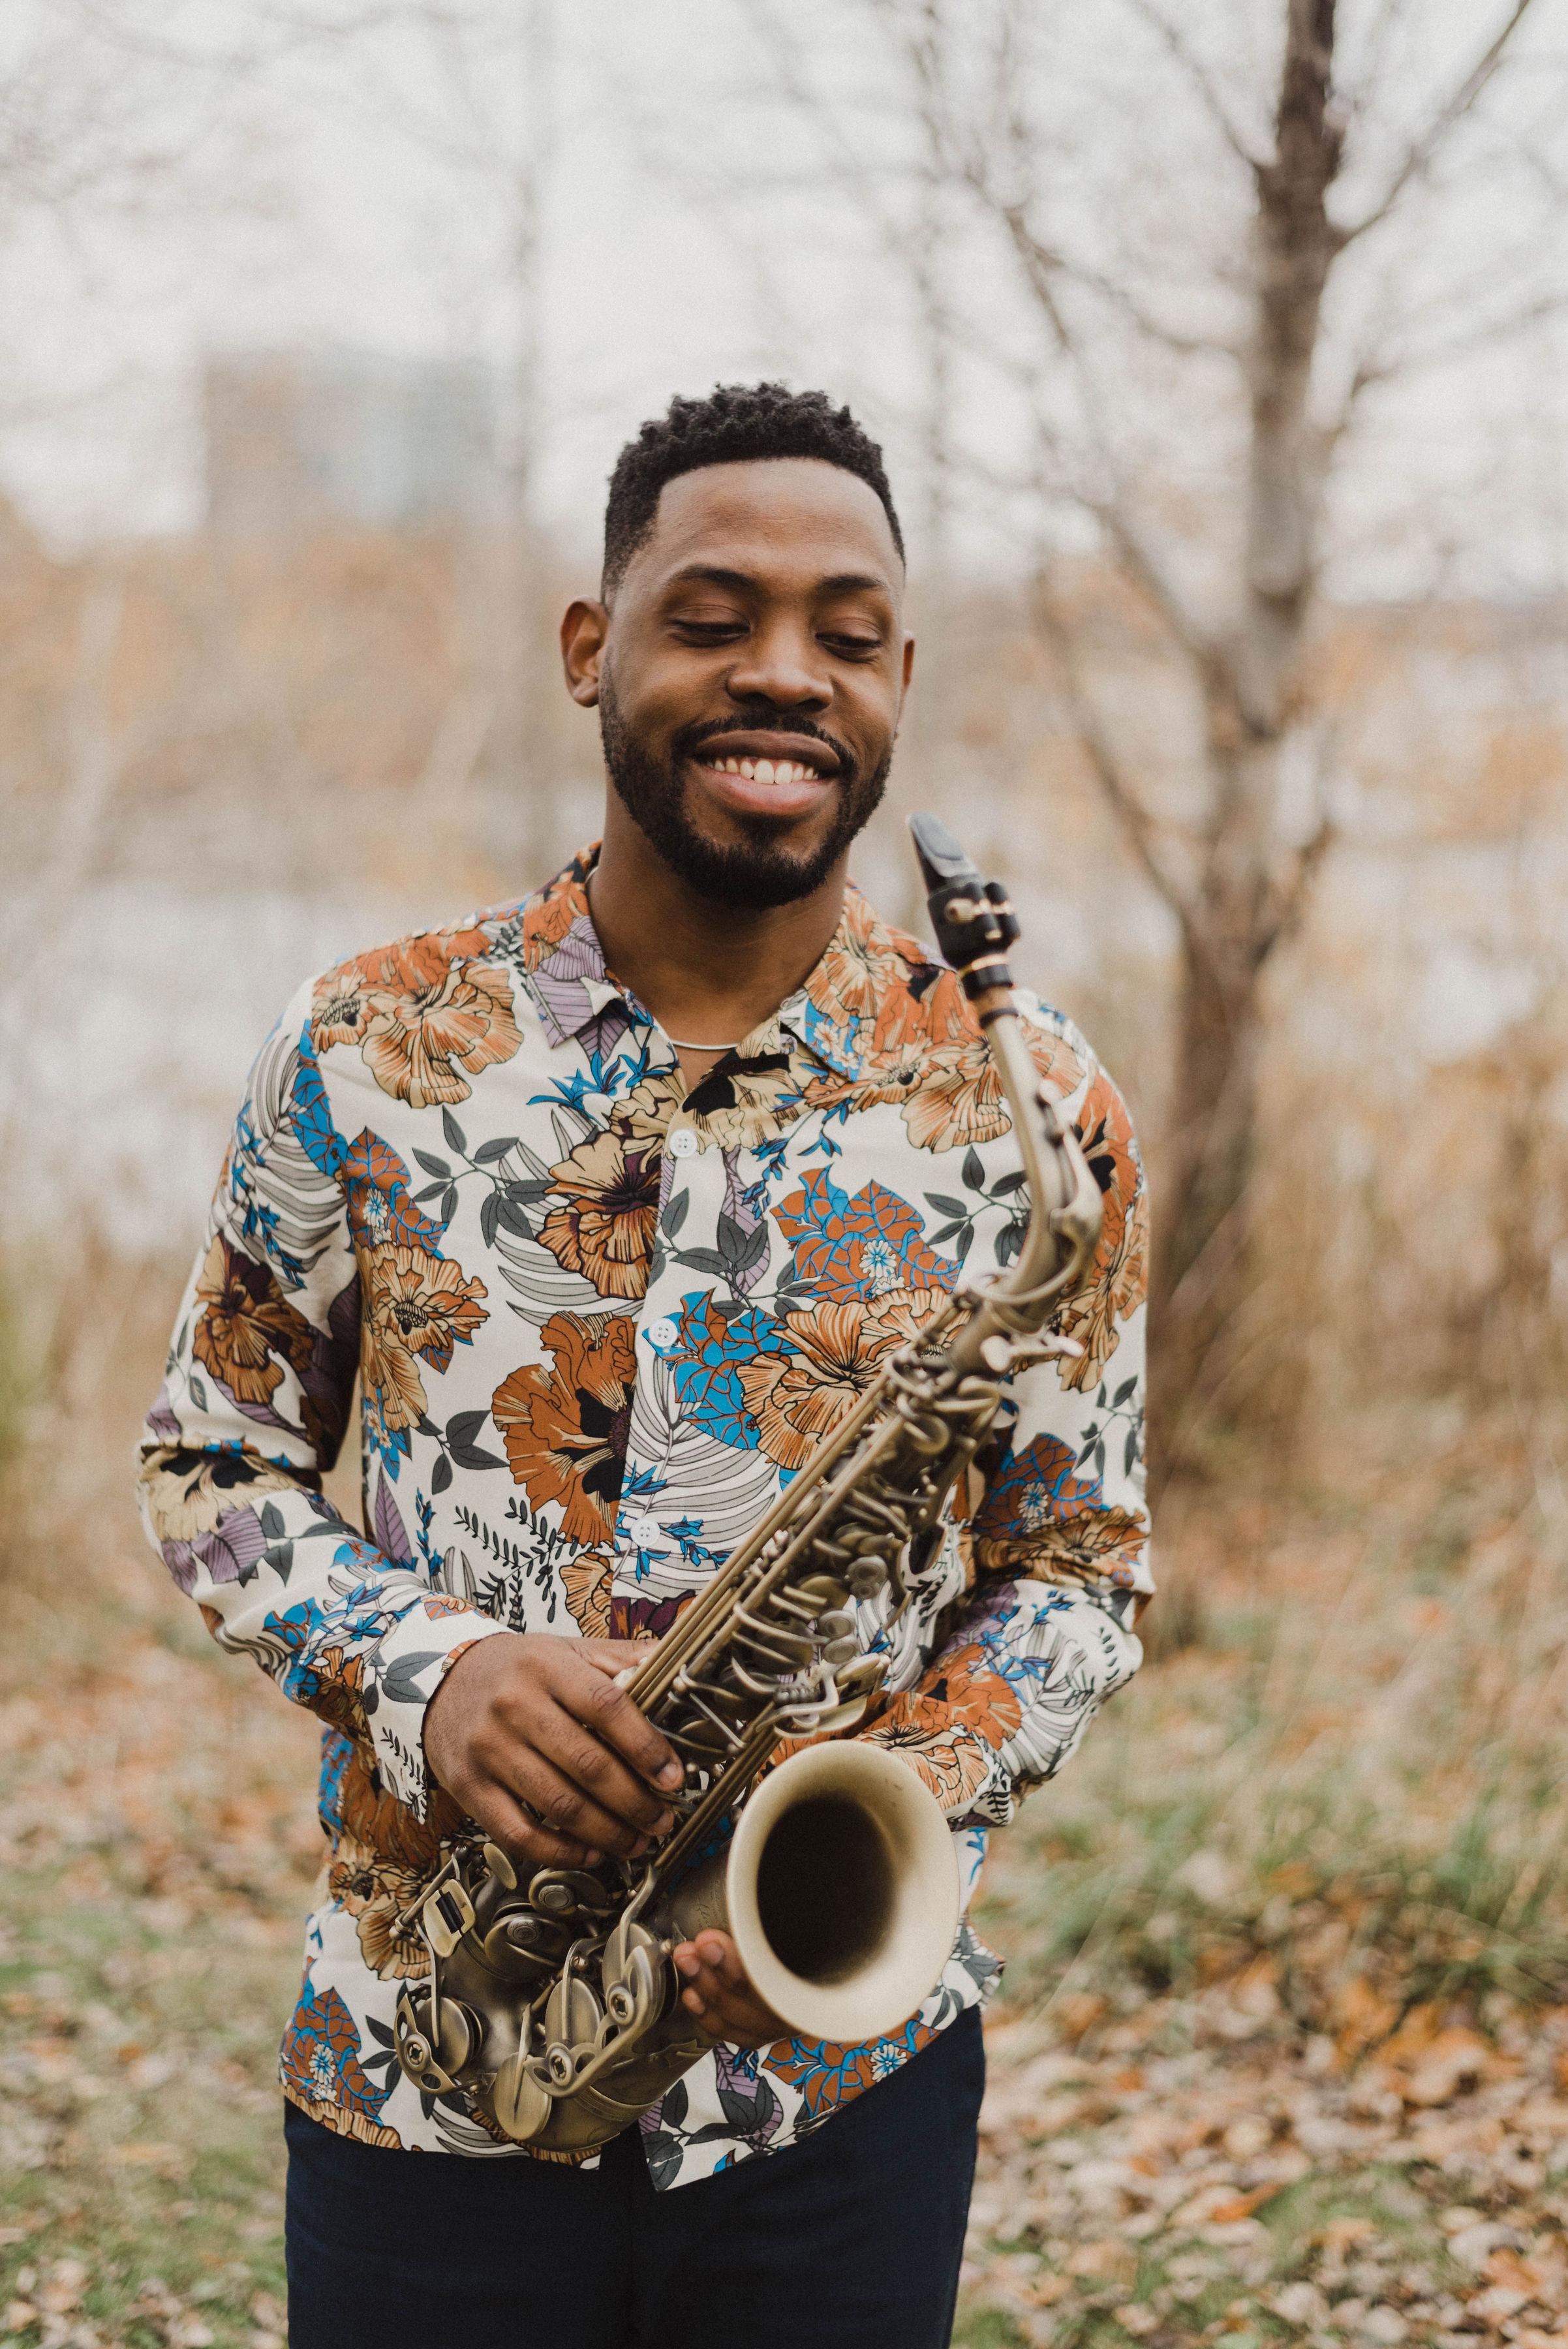
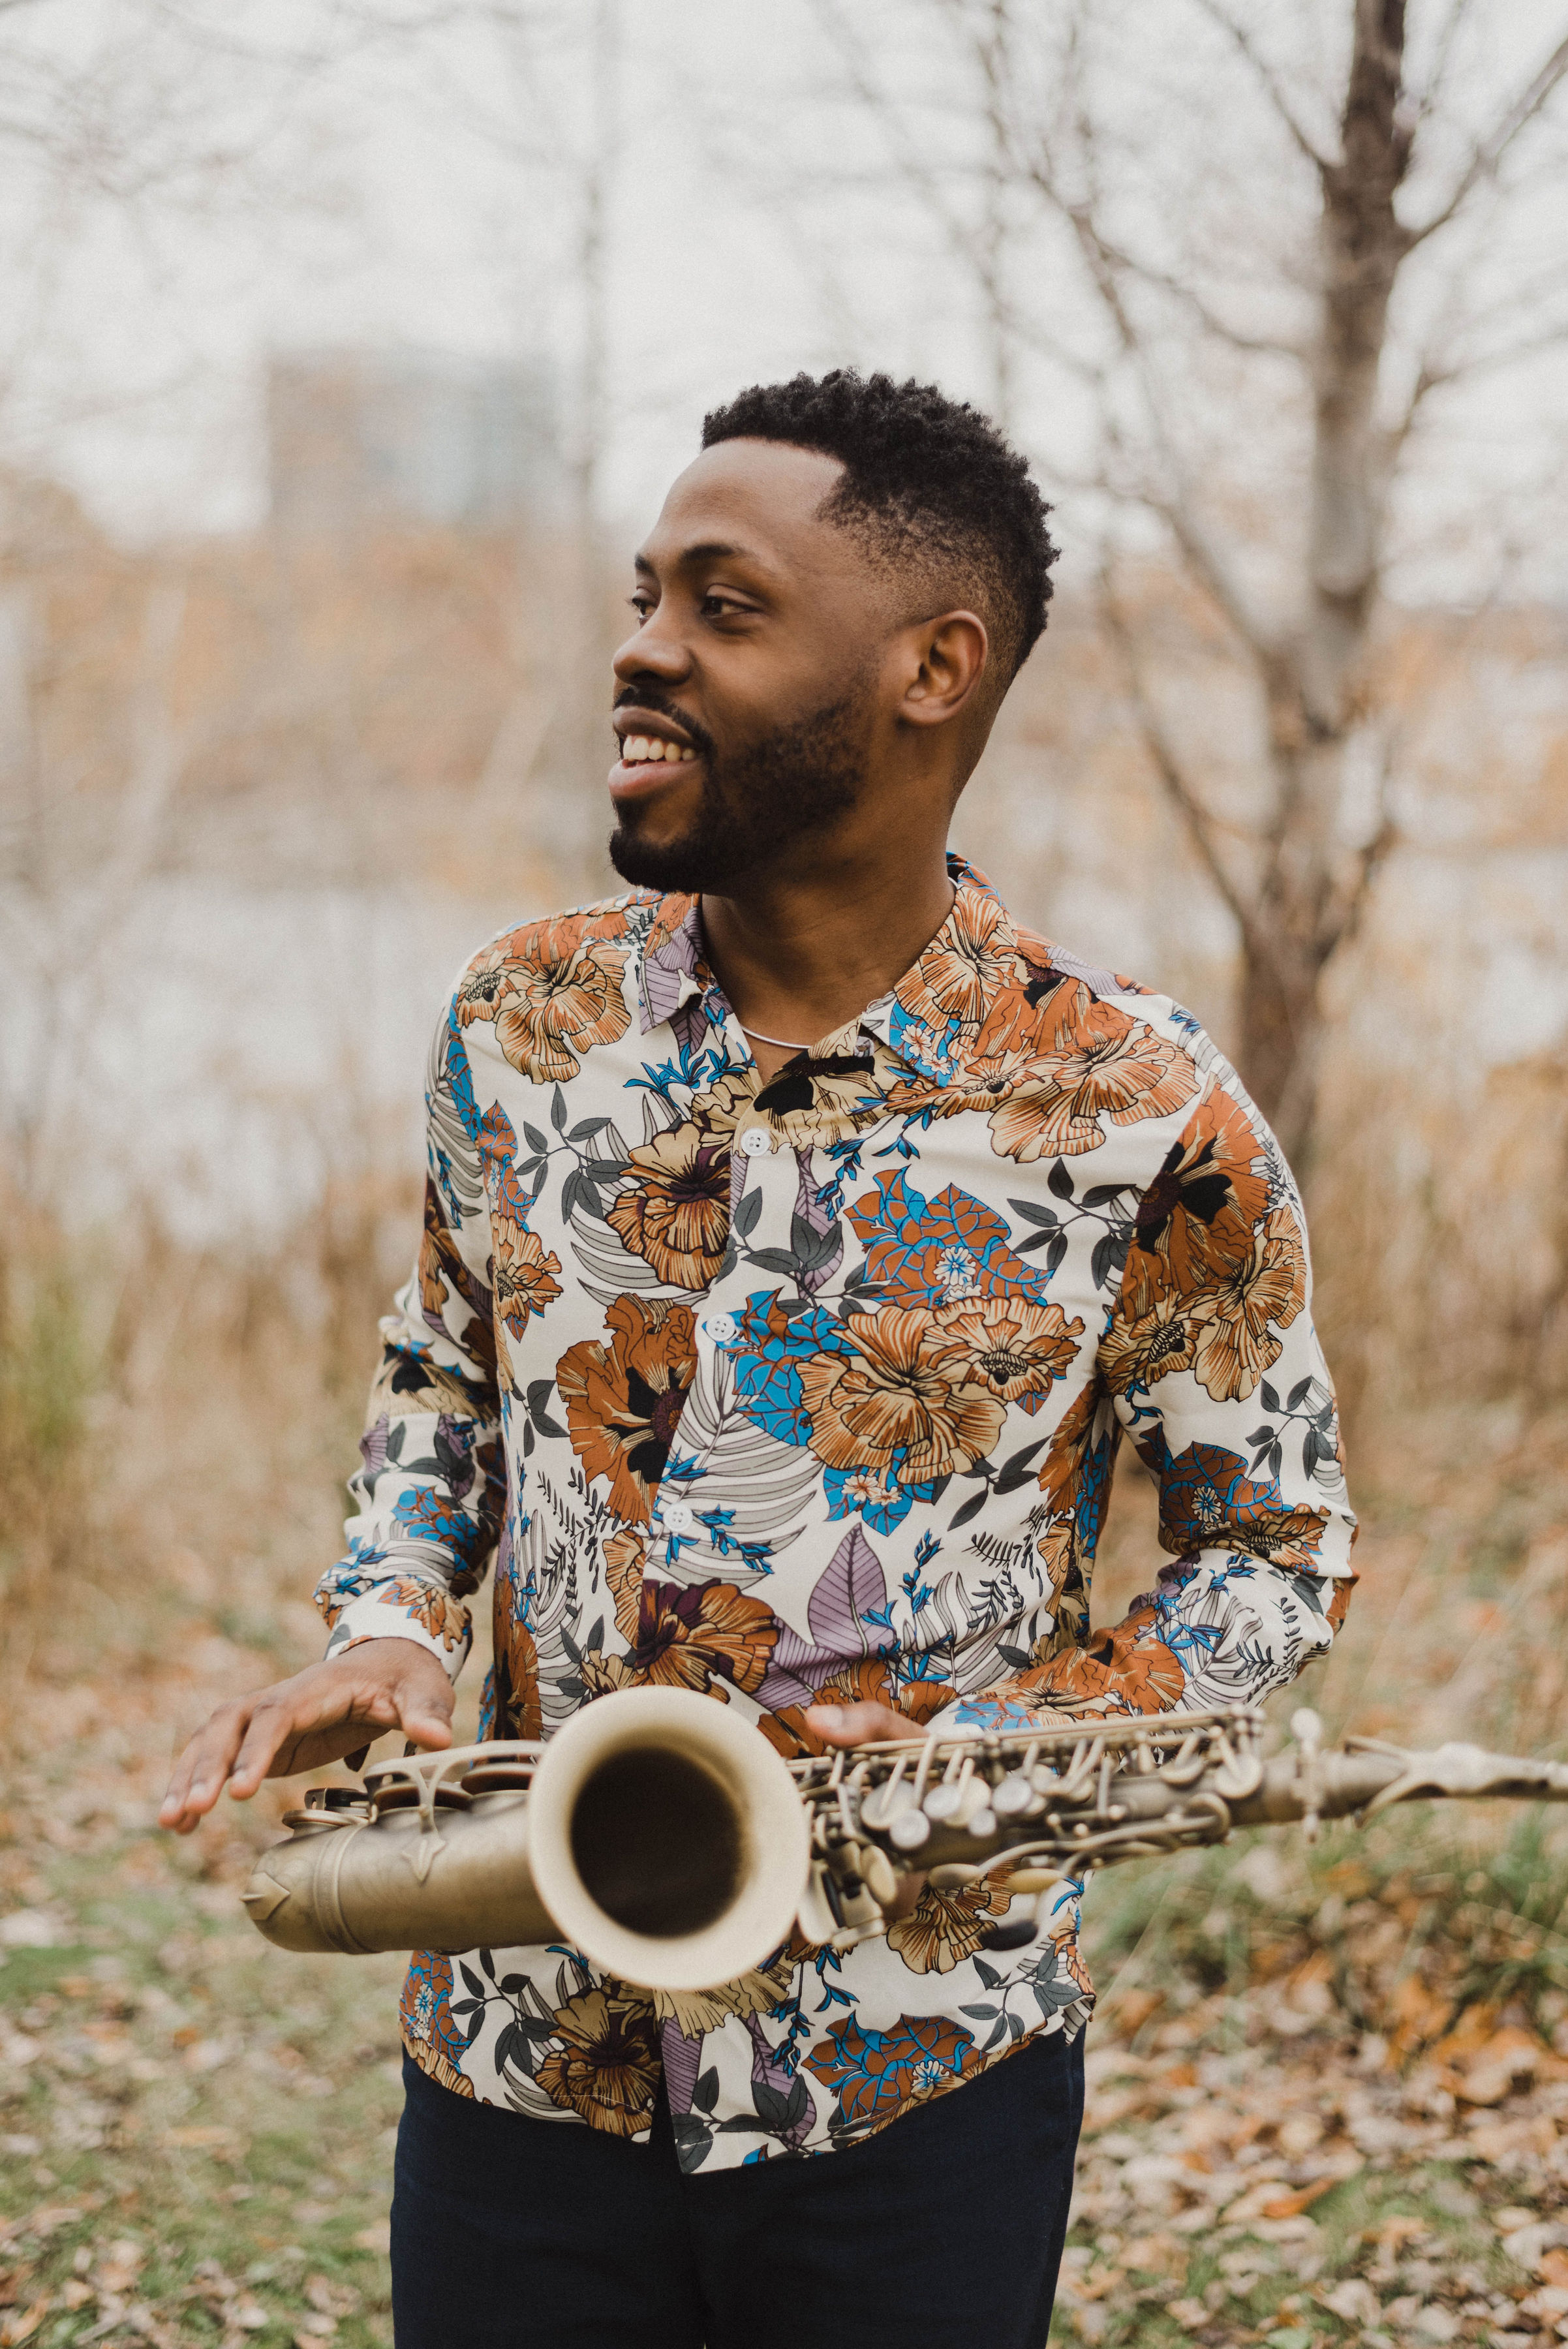
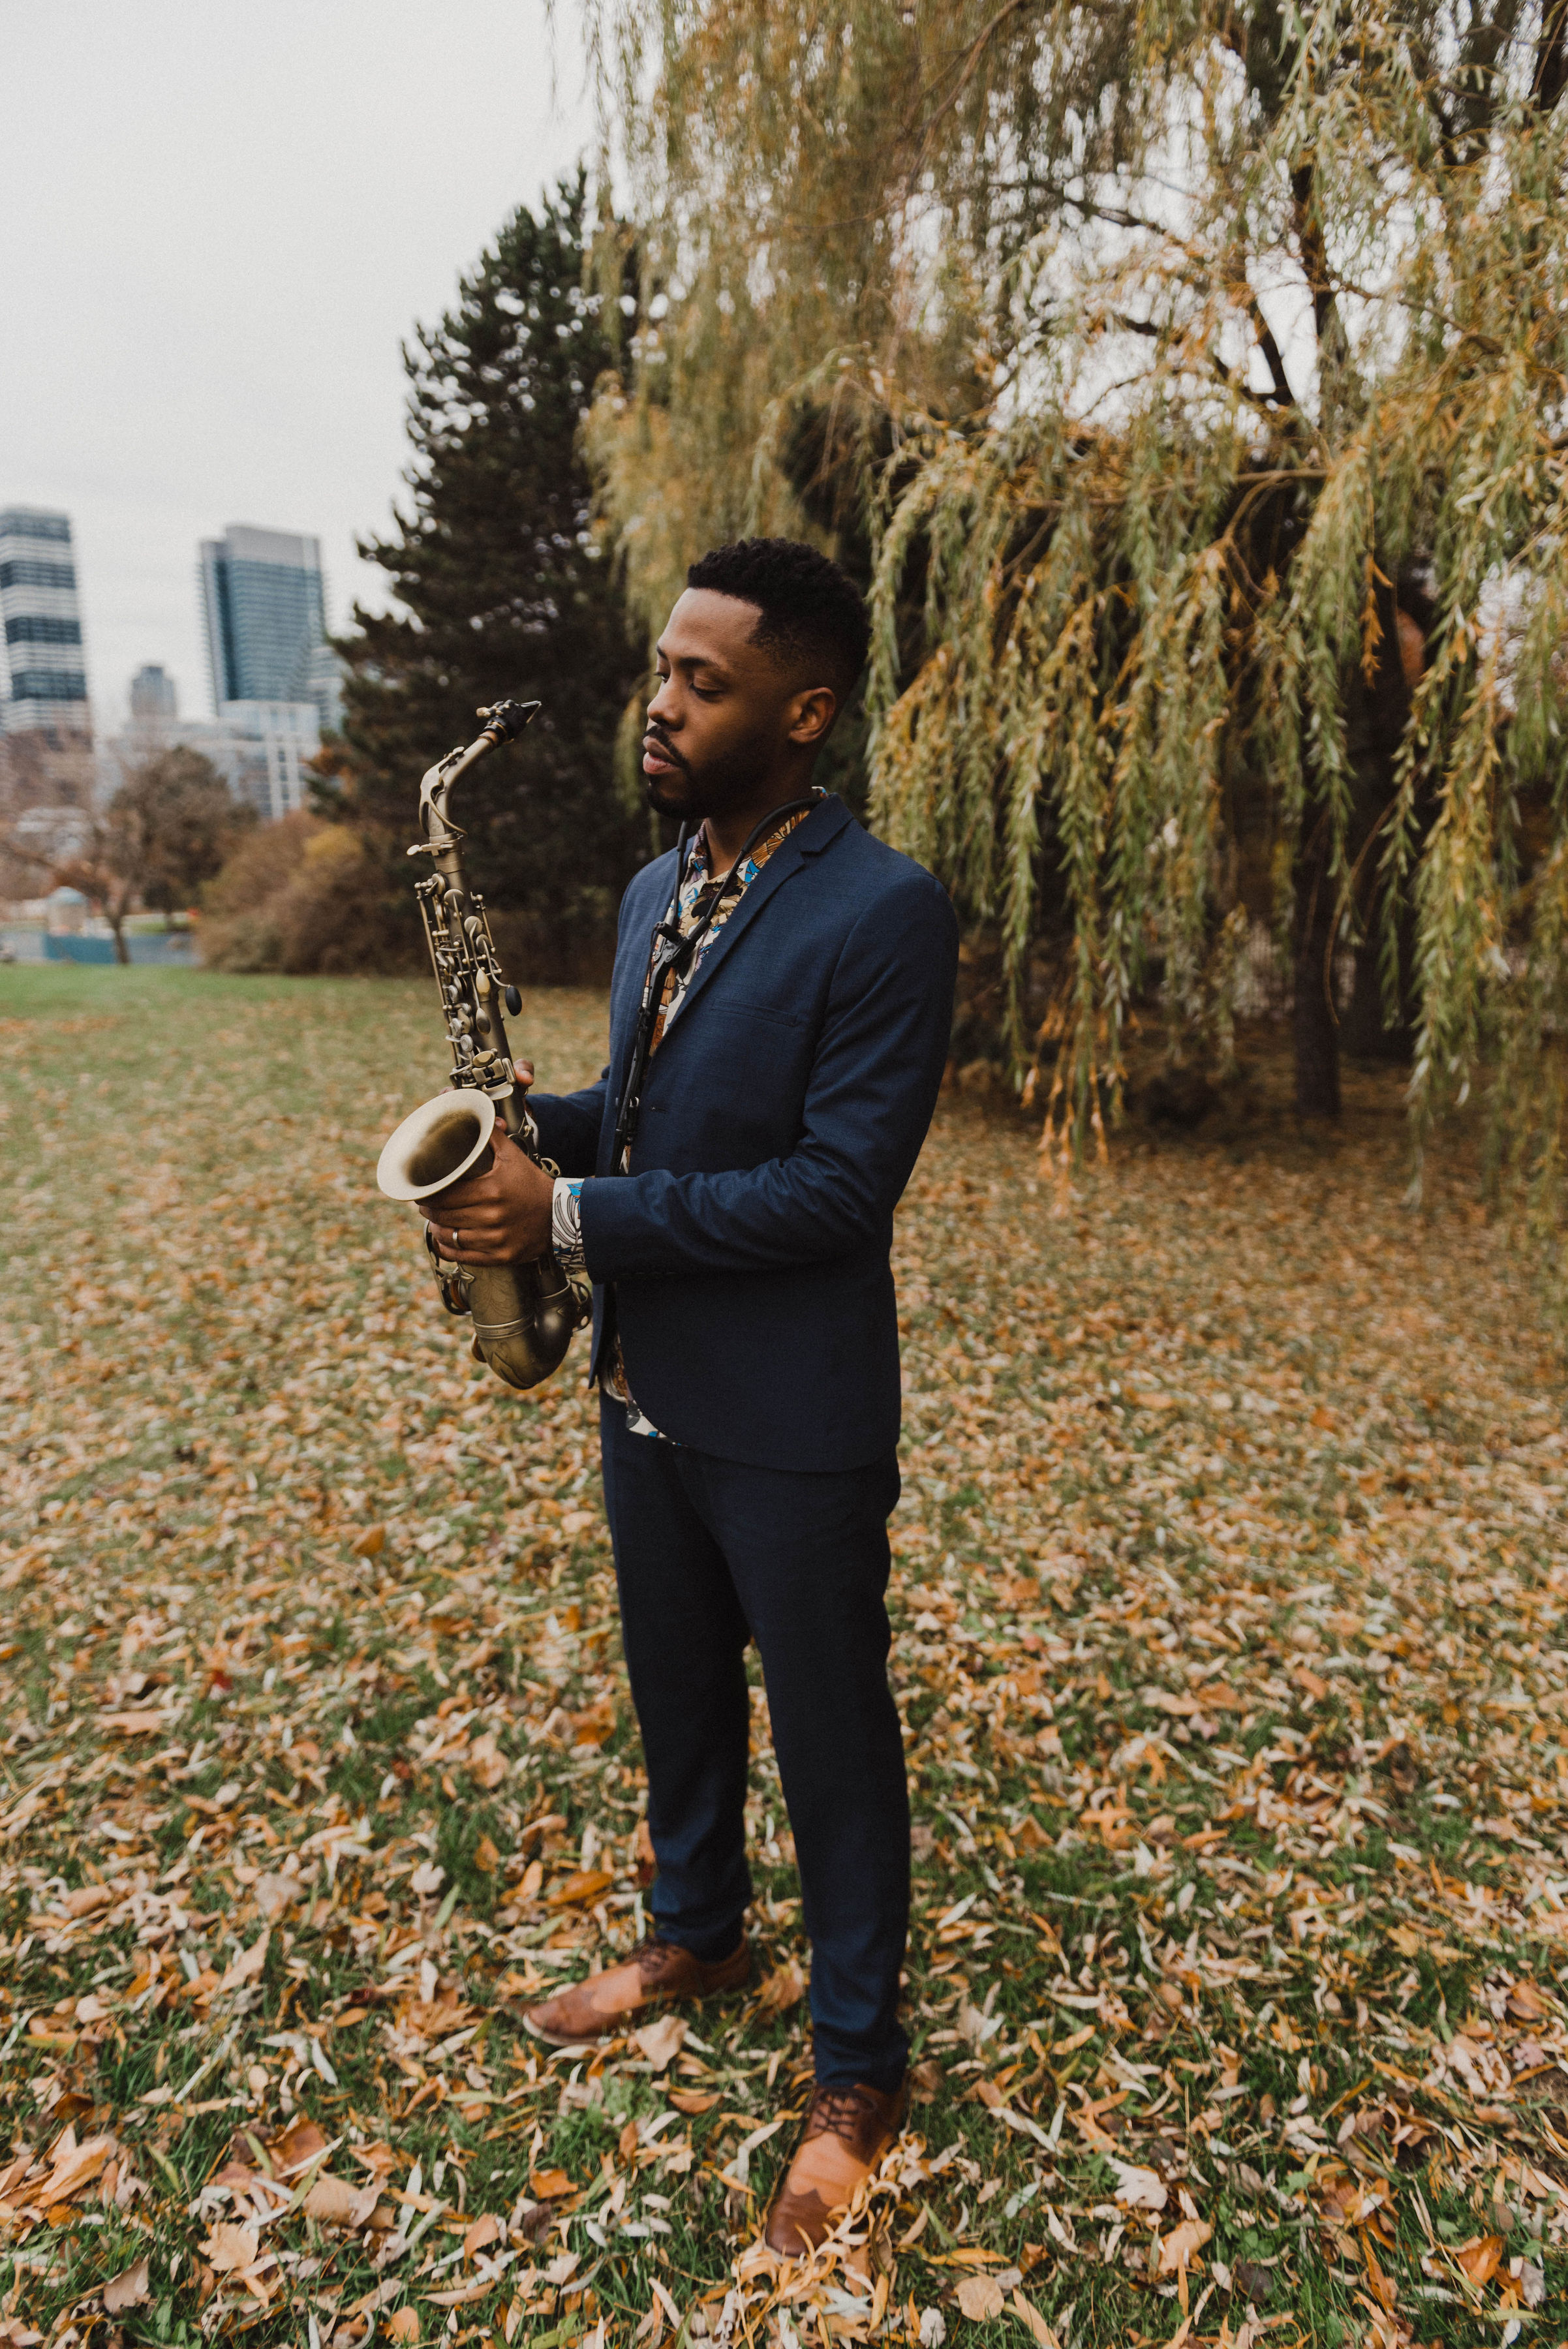
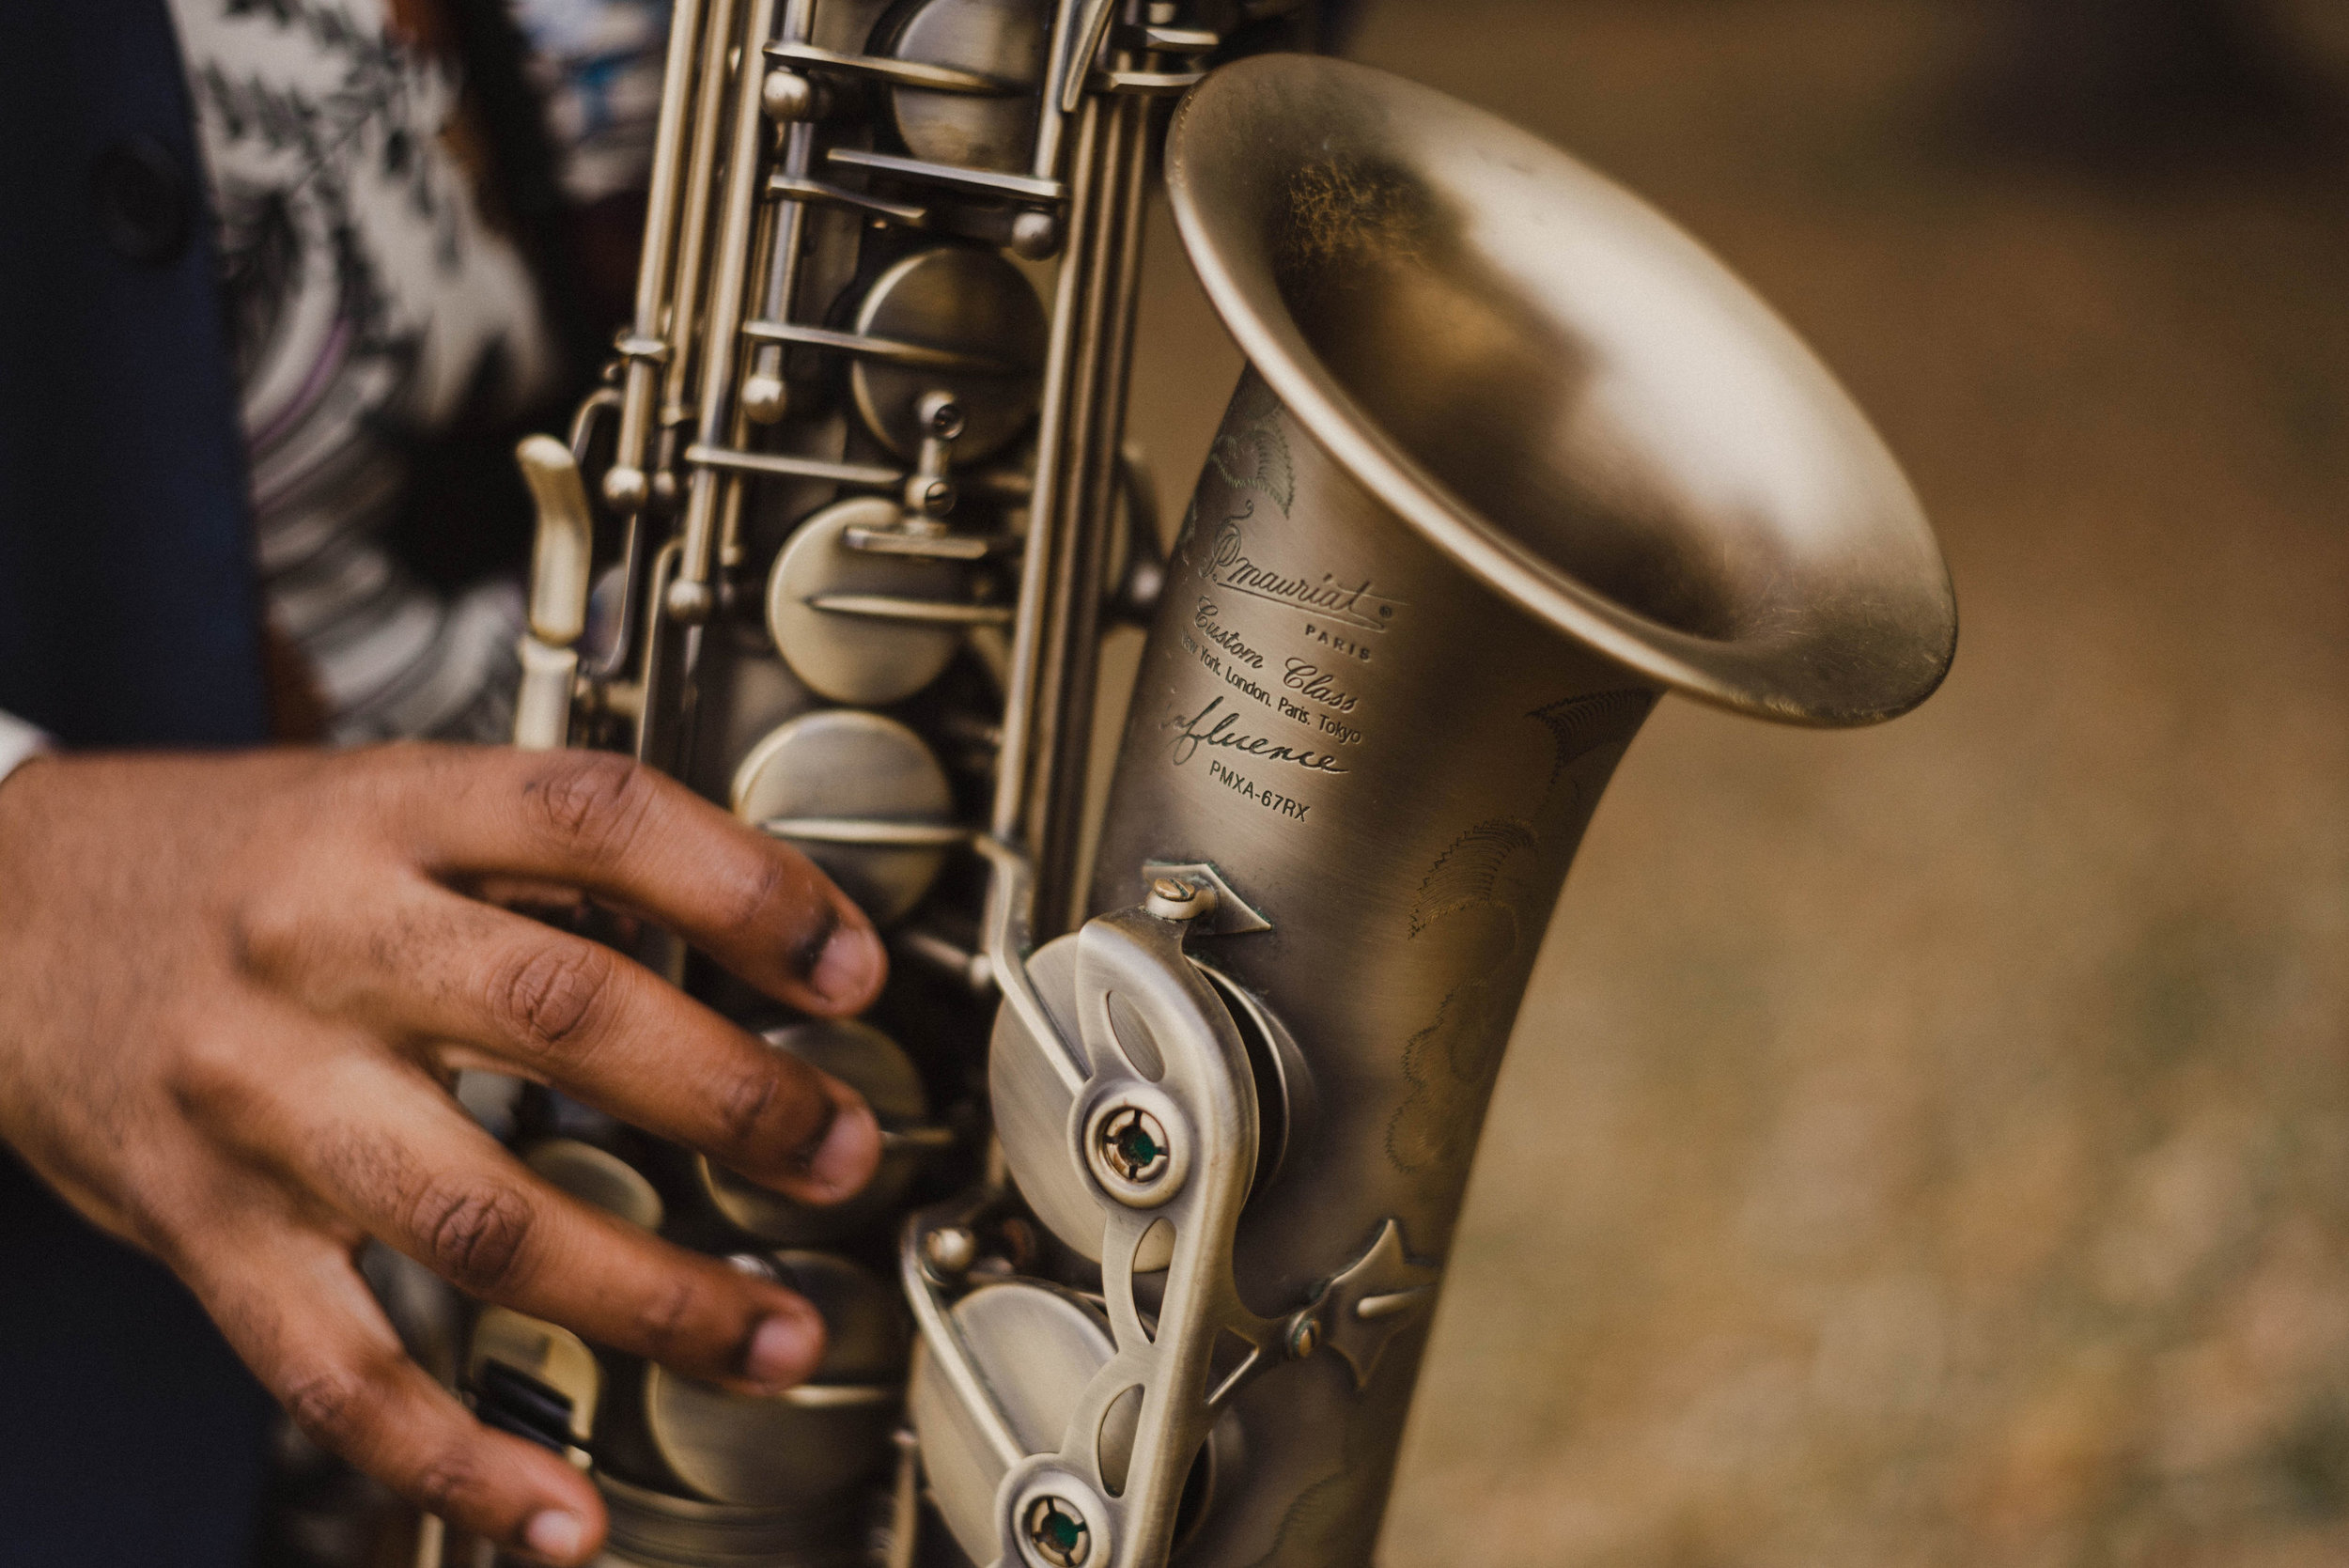
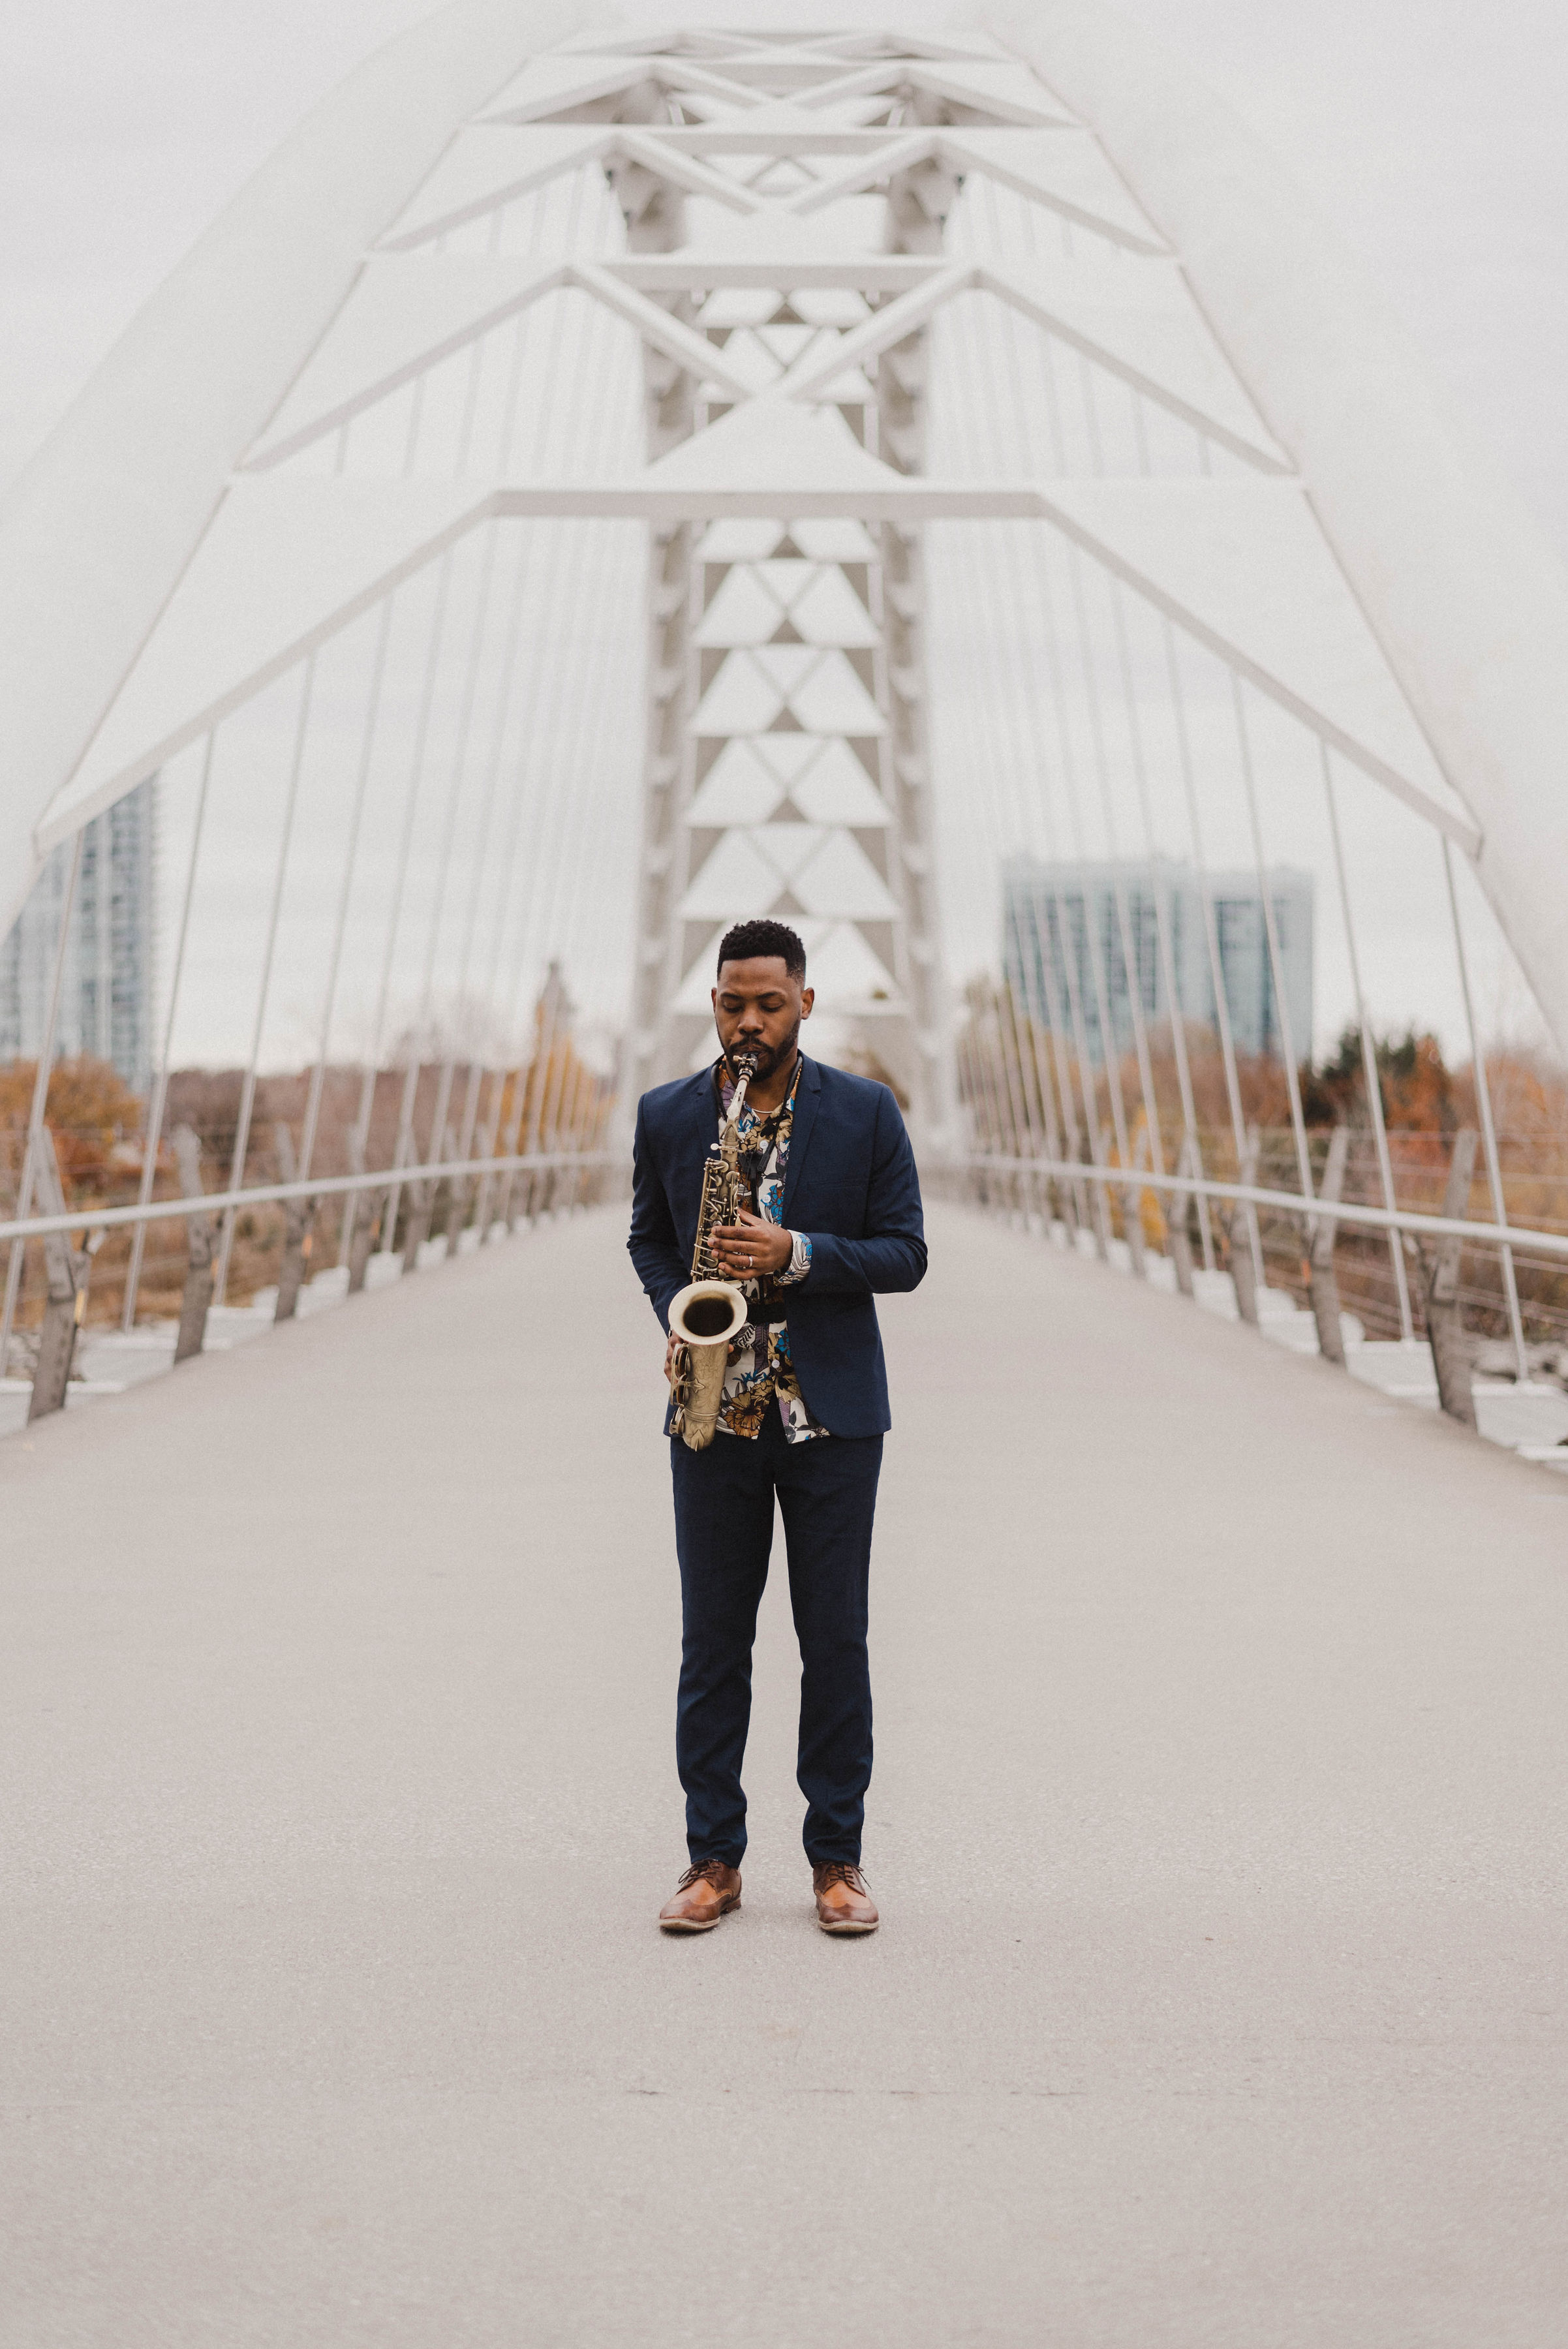
PRESS PHOTOS
GALLERY
All Photos by
Robin Sassi